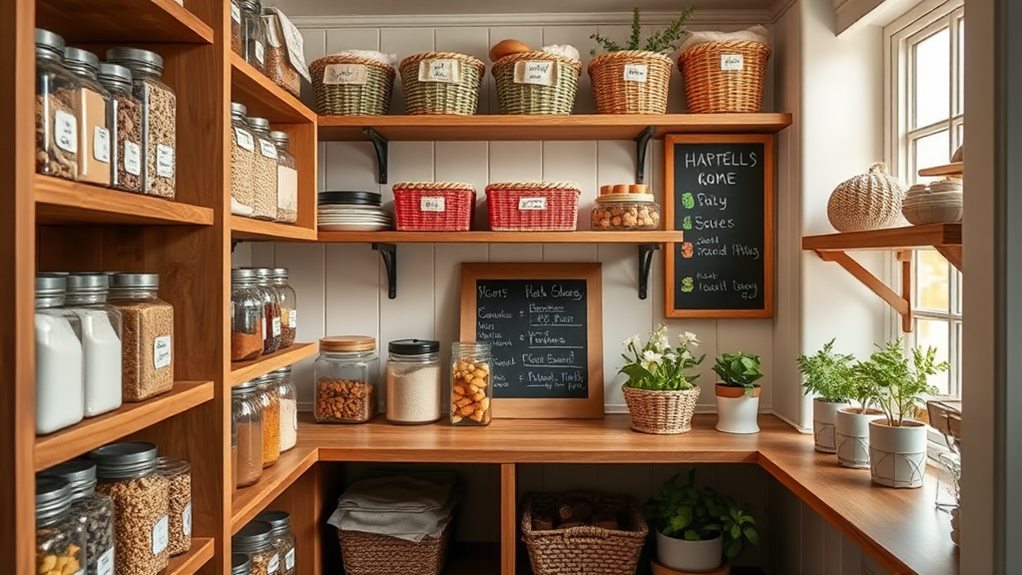
To organize your pantry like a pro, start by emptying it out and cleaning the shelves. Assess what you have and check expiration dates. Sort items into categories such as grains, spices, and canned goods. Choose clear storage containers and label everything for easy access. Organize by frequency of use, keeping essentials at the front. Use vertical space wisely with stackable bins and shelf dividers. Regularly check for expired items, and maintain your pantry monthly to guarantee it stays tidy. Stick around to discover even more tips that can elevate your pantry game!
Key Takeaways
- Start by conducting an inventory assessment and discard expired items to create a clean slate for organization.
- Group pantry items into categories like grains, canned goods, and spices for easier access and management.
- Use clear storage containers and label them clearly to maintain an organized and visually appealing pantry.
- Practice rotation by placing newer items at the back and regularly check expiration dates to minimize waste.
- Set a monthly maintenance schedule to tidy up and reorganize your pantry, ensuring it remains functional and efficient.
Assess Your Current Pantry
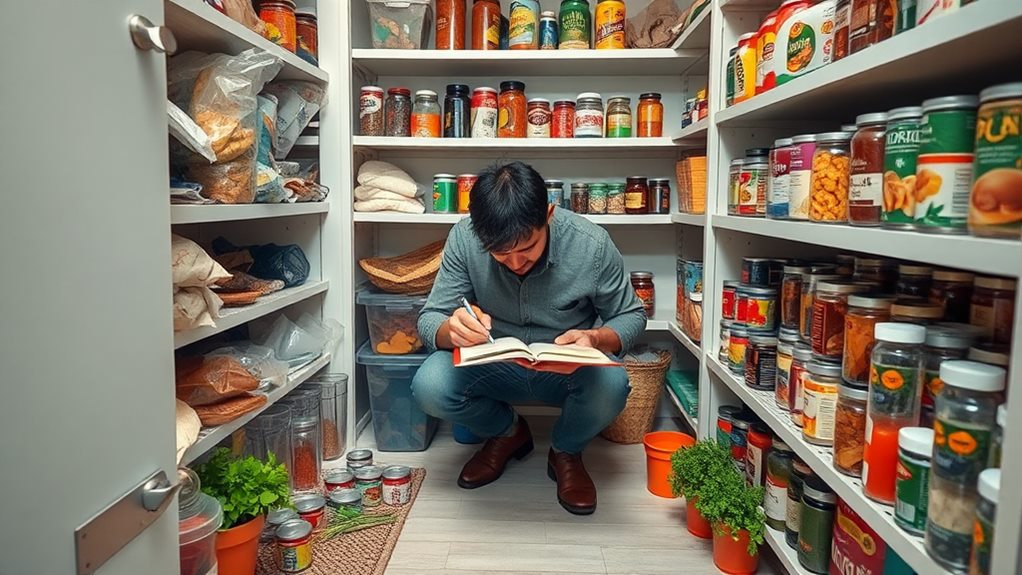
Before diving into organizing your pantry, take a moment to assess what you currently have. Start with an inventory assessment. Open those doors and pull everything out. Check expiration dates and toss out anything that's past its prime. You'll not only clear clutter but also get an idea of what you actually use and what's just taking up space. As you evaluate your pantry, consider implementing safety features that guarantee your food's freshness, like labeling with dates or using clear containers for visibility.
Now, think about space optimization. Group similar items together—canned goods, grains, snacks—so you can see what you have at a glance. This not only saves time while cooking but also helps you avoid buying duplicates. You might find that you have five cans of black beans!
As you assess, consider design inspiration. Does your pantry feel chaotic? A little color coordination can go a long way in creating a visually appealing space. Arrange your items by color or use matching containers for a cohesive look. This gives a sense of order and makes your pantry feel welcoming.
Lastly, don't forget to take notes on what you need to restock. A well-organized pantry isn't just about aesthetics; it's about creating a sense of belonging in your kitchen. When everything has its place, you'll feel more at home in your cooking space. So take that time to assess, and you'll set the foundation for a beautifully organized pantry that reflects your unique style and needs.
Empty and Clean Shelves
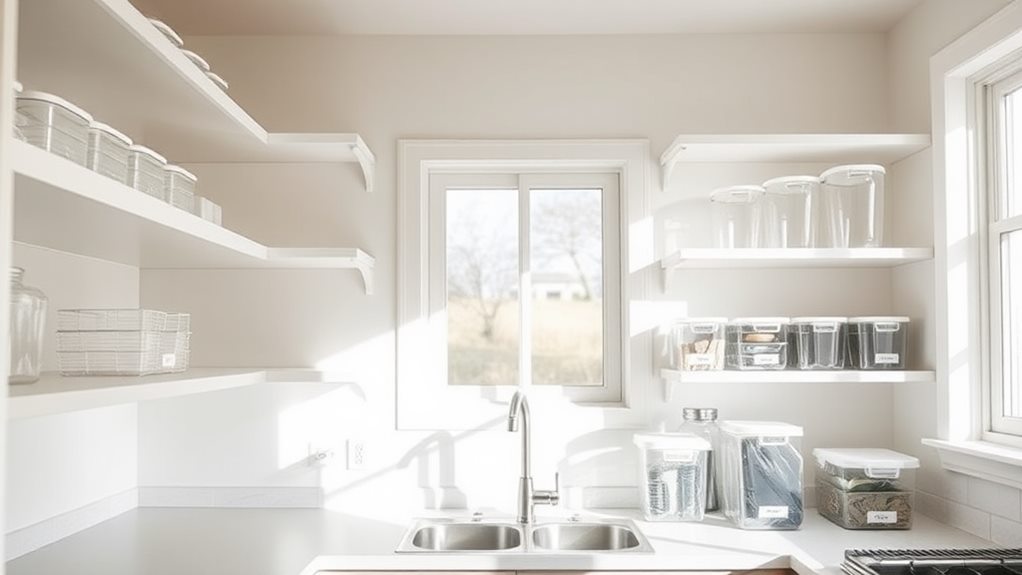
Clearing your shelves is an essential step in the pantry organization process. This step not only gives you a fresh start but also allows you to assess what you have and what you need. Begin by removing everything from the shelves. As you do, take a moment to evaluate each item. Are there any expired products? Is there clutter that you no longer use? This is your chance to declutter and make space for the essentials. Consider using eco-friendly cleaning materials, such as compostable sponges, to minimize your environmental impact while maintaining a clean space.
Once you've emptied the shelves, it's time for some deep cleaning. Wipe down each shelf with a mixture of warm water and mild soap. If you have sticky spots or stains, don't hesitate to scrub a little harder. After cleaning, let the shelves dry completely. Consider using shelf liners to protect your shelves from spills and dirt, while also adding a touch of style.
Here are some organization ideas to keep in mind as you clean:
- Choose durable shelf liners for easy maintenance.
- Plan the layout for easy access to frequently used items.
- Label containers to make finding things a breeze.
Sort Items by Category

Grouping items by category is a crucial step in organizing your pantry effectively. By clustering comparable items together, you'll make it simpler to locate what you need and establish a system that feels unified and welcoming. Commence by identifying major groupings such as grains, canned goods, snacks, baking essentials, and spices. This way, you'll know precisely where everything belongs. Consider utilizing quality storage containers to maintain your items fresh and organized, as they're available in various sizes to suit your requirements.
After categorizing your items into these groupings, contemplate color coordinating them. For instance, you could place all your green cans together or group similarly colored boxes. This not only enhances the visual appeal of your pantry but also assists you in swiftly finding items.
If you prefer a more systematic method, attempt arranging your categories in alphabetical sequence. This approach guarantees that you can locate items with minimal exertion, allowing you to devote less time searching and more time relishing what's in your pantry.
Check Expiration Dates
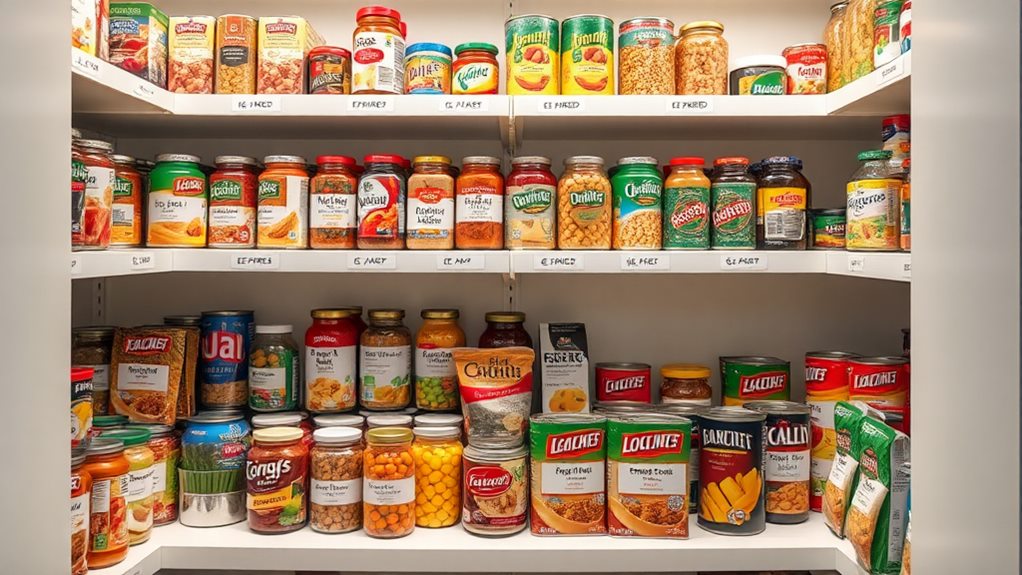
While organizing your pantry, checking expiration dates is essential to guarantee you're using fresh ingredients and minimizing waste. It's easy for items to get lost in the back of your pantry, leading to expired goods that can spoil your meals and your plans. By regularly checking these dates, you ensure that everything is safe to consume and that you're making the most of your inventory.
Start by taking everything out of the pantry and inspecting each item. Discard any expired products and consider donating non-perishable items that are still good but you won't use. This helps with both inventory rotation and shelf organization.
To make this process smoother in the future, here are a few tips:
- Label everything: Use clear labels with expiration dates visible, so you can easily spot what needs to be used first.
- Place older items in front: This encourages you to use them before newer products, helping with inventory rotation.
- Regular checks: Set a reminder to check your pantry every few months to keep everything fresh and organized.
Choose Storage Solutions
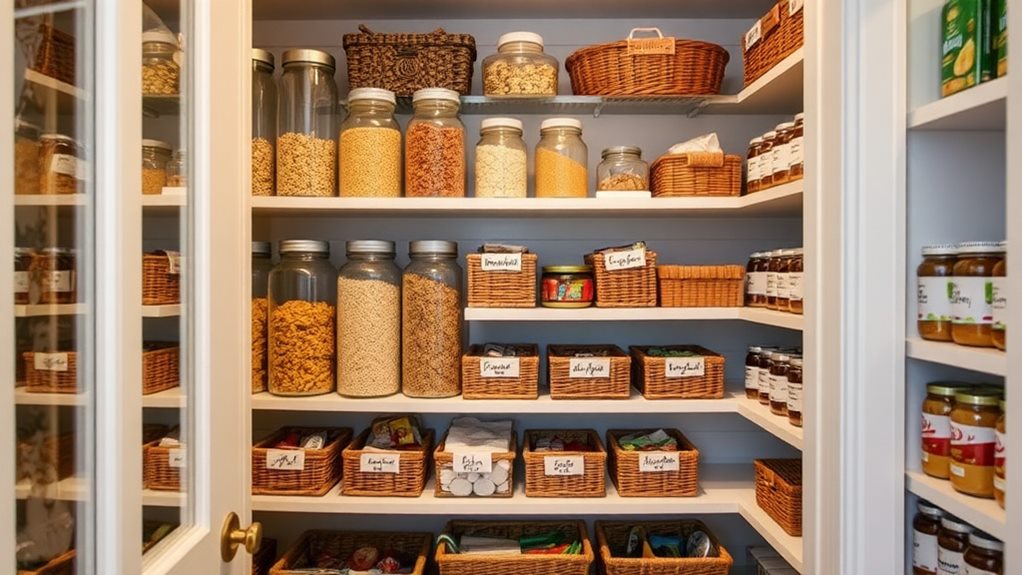
Choosing the right storage solutions can transform your pantry into an organized oasis of culinary potential. By selecting appropriate container options, you'll not only enhance the look of your pantry but also achieve effective space optimization. Start by evaluating your pantry's layout and the types of items you store.
Consider which containers suit your needs best. Here's a quick reference table to help you decide:
| Container Type | Best For |
|---|---|
| Clear Bins | Bulk items like grains and snacks |
| Stackable Jars | Spices, herbs, and small items |
| Baskets | Canned goods and larger items |
| Airtight Containers | Dry goods like flour and sugar |
| Lazy Susans | Easy access to sauces and condiments |
Each type of container serves a purpose, so think about what will work best for your pantry's unique layout. Clear bins provide visibility, while stackable jars maximize vertical space. Baskets can add a rustic touch while keeping items easily accessible.
Don't forget about labeling! It'll make finding what you need a breeze and help maintain your organized system.
As you choose your storage solutions, remember that the goal is to create a functional space that reflects your cooking style. With the right containers, you'll optimize your pantry and make cooking more enjoyable, fostering a sense of belonging in your kitchen.
Use Clear Containers
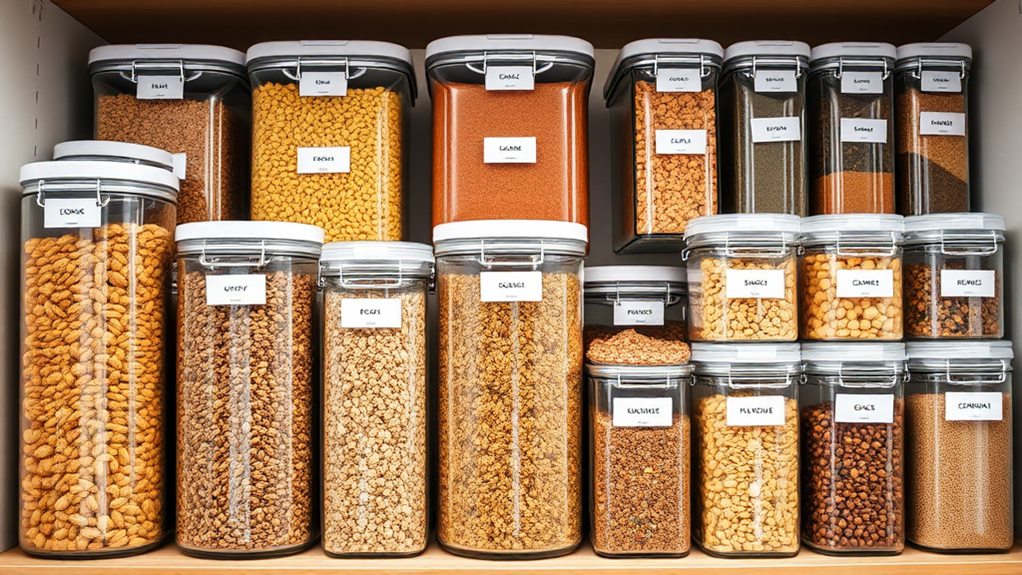
Using clear containers is a game changer for pantry organization. They not only enhance the visual appeal of your space but also simplify your cooking and meal prep. When you can see what you have at a glance, you're less likely to buy duplicates or let food go to waste. Plus, clear containers create a sense of order, making your pantry feel more inviting.
Here are some great container options to ponder:
- Airtight bins: Perfect for keeping dry goods fresh while preventing pests.
- Stackable jars: These maximize vertical space and add a stylish touch.
- Small clear boxes: Ideal for organizing smaller items like spice packets or snack bags.
To truly maximize the benefits of clear containers, employing effective labeling techniques is essential.
While I won't consider labeling here, you can create a cohesive look by using matching labels for all your containers. This not only helps everyone in your household find what they need quickly but also fosters a sense of belonging and teamwork in the kitchen.
Label Everything Clearly
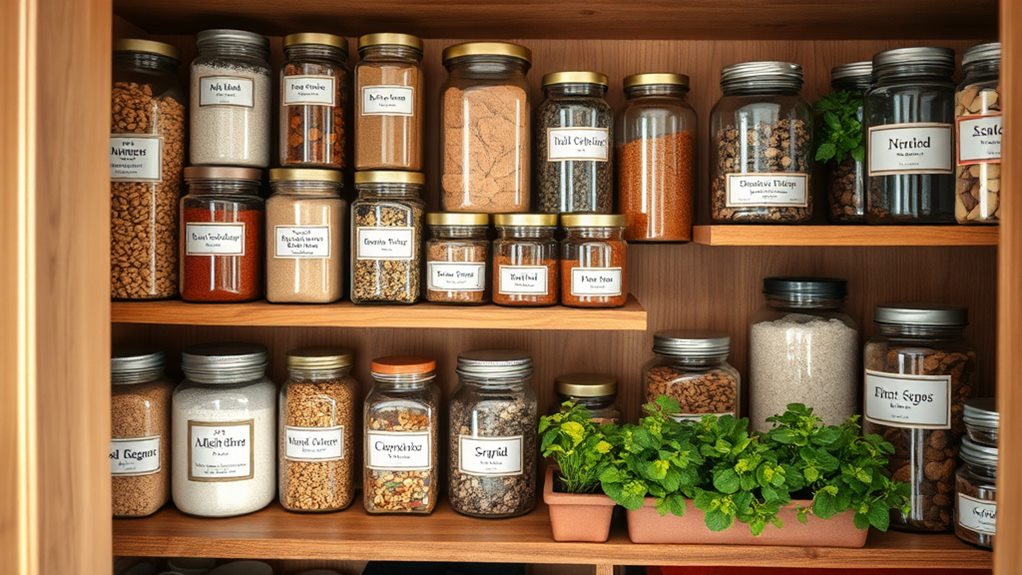
There's no denying that clear labels are essential for a well-organized pantry. When you take the time to label everything, you'll not only save time during meal prep but also create a sense of belonging in your kitchen. Organization tips like these help you build a space that reflects your style while being functional.
Start by choosing a labeling strategy that works for you. You might prefer traditional labels, or you may opt for a more modern approach with a label maker. Whatever you choose, make sure the labels are easy to read and placed where they can be seen at a glance.
You can label containers for grains, snacks, spices, and even less common items like dried mushrooms or specialty flours.
Consider using a consistent format for your labels. This could involve using the same font, color, or size, which helps create a cohesive look. You might also want to include expiration dates or use clear, descriptive names that make it easy to identify each item. If you're feeling creative, decorate your labels to add a personal touch.
Organize by Frequency of Use
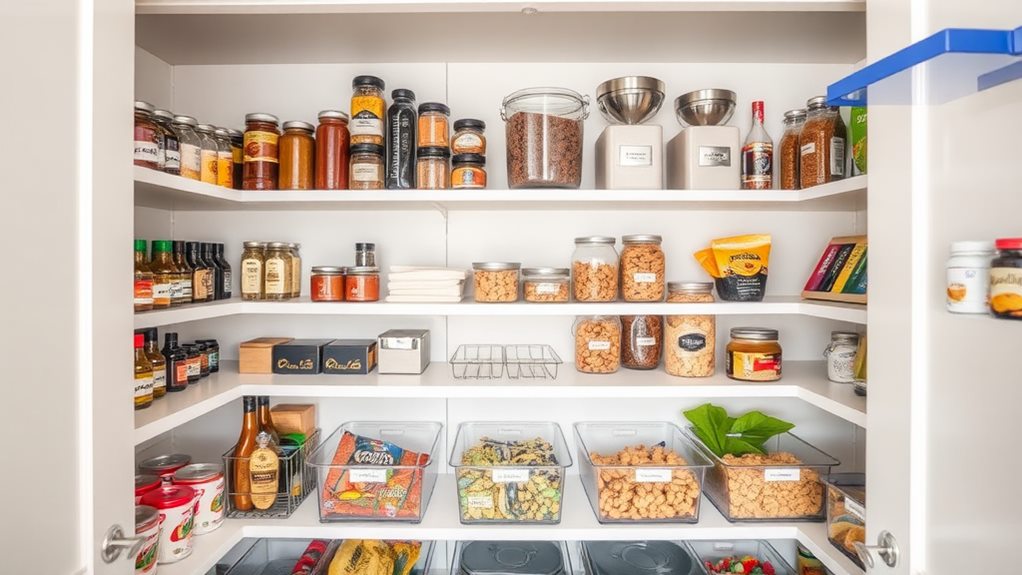
After you've labeled everything clearly, it's time to think about how often you use those items. Organizing by frequency of use not only makes your pantry more functional but also helps create a space that feels inviting. You want to make sure that the items you reach for regularly are front and center, while those you use less often are stored away neatly.
Start by grouping your pantry items based on how frequently you use them. Here's a simple way to get started:
- Everyday essentials: Place items like pasta, rice, and spices in the most accessible spots.
- Occasional ingredients: Store less frequently used items, such as specialty sauces or baking supplies, on custom shelving that's a bit higher up.
- Rarely used goods: Keep items you rarely touch in the back or on the top shelves, out of sight but still organized.
Using color coding can help you quickly identify different categories within your pantry, making it easier to find what you need. For example, you could use green for snacks, red for baking supplies, and blue for canned goods.
With this method, you'll not only free up valuable time during meal prep but also create a cohesive look that welcomes you every time you open the pantry. Remember, a well-organized pantry reflects your cooking habits and makes a statement about your lifestyle.
Maximize Vertical Space
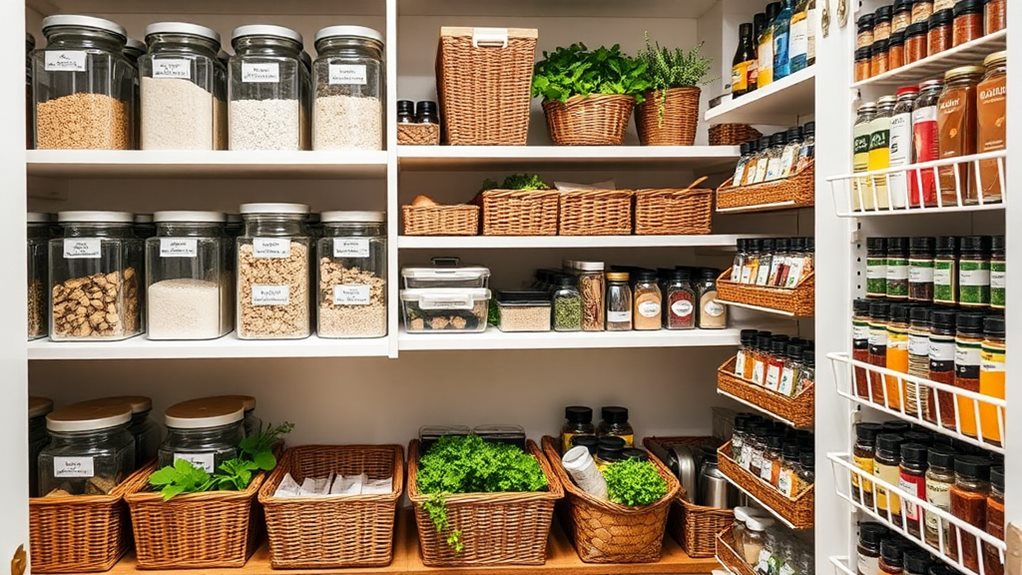
Maximizing vertical space in your pantry can transform it from cramped to organized, giving you more room for all your essentials. Start by using shelf dividers to create designated sections for different food items. This keeps everything visible and easy to reach, so you won't have to dig through piles of cans or boxes.
Consider incorporating hanging baskets on the back of your pantry door or on the sides of shelves. These are perfect for storing smaller items like snacks, spices, or even cleaning supplies. By utilizing these often-overlooked areas, you can free up valuable shelf space for larger items.
Lazy susans are another fantastic tool for maximizing vertical space. Place them on your pantry shelves to easily access condiments, oils, or spices. With a simple spin, you can see everything at a glance, making meal prep a breeze.
Stackable bins can also be a game-changer. Use them to group similar items together, whether it's pasta, rice, or snacks. By stacking these bins, you'll take advantage of vertical height in your pantry, making it feel more spacious.
Don't forget to label everything. Clear labels on bins and baskets make it easy for everyone to find what they need, fostering a sense of belonging and order in your kitchen. By implementing these simple solutions, you'll create a pantry that's not only functional but inviting, reflecting your personal style.
Maintain Your Organized Pantry
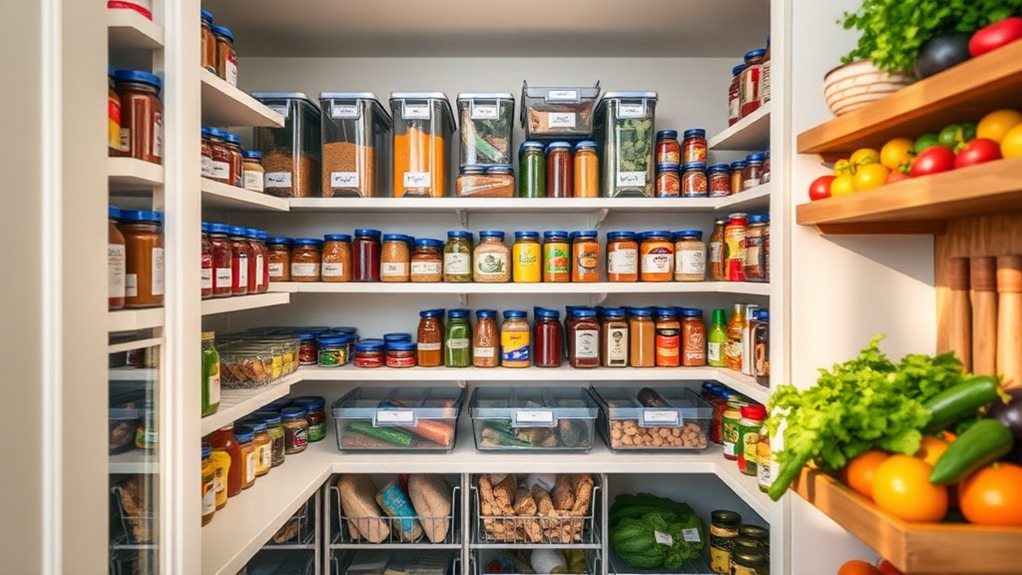
Once you've organized your pantry, keeping it that way is essential to enjoying its benefits. You don't want to undo all your hard work, so establishing some simple habits can help you maintain that orderly and functional space. Here are a few practical steps to keep your pantry organized:
- Practice pantry rotation: Always place newer items at the back and older ones at the front. This way, you'll use up your products before they expire, reducing waste and making your cooking more efficient.
- Regular inventory tracking: Take a few minutes each week to check what you have. This helps you stay aware of your supplies, so you won't end up buying duplicates or discovering expired items hidden in the back.
- Set a maintenance schedule: Choose a day each month to tidy up your pantry. This could involve wiping down shelves, reorganizing items, and revitalizing your inventory. Consistency is key!
Frequently Asked Questions
What Are the Best Materials for Pantry Storage Containers?
When it comes to pantry storage containers, glass jars are great for visibility and keeping items fresh. They're perfect for grains and snacks.
Plastic bins are lightweight and versatile, making them ideal for bulk items.
Metal baskets add a stylish touch and work well for fruits or vegetables.
Wicker baskets bring a warm, rustic feel, perfect for holding smaller items.
Choose materials that fit your style while keeping your pantry organized and functional.
How Can I Prevent Pests in My Pantry?
To prevent pests in your pantry, you need effective pest control and prevention strategies. Start by keeping your pantry organized—use airtight containers for food storage. Regularly check for expired items and clean spills immediately.
Vacuum and wipe down shelves to remove crumbs. Consider using natural repellents like bay leaves or essential oils. These tips not only deter pests but also create a welcoming space, making your pantry feel inviting and well-maintained.
Should I Store Spices in the Pantry or Elsewhere?
You should store spices in a cool, dark place to maintain their flavor and potency. While your pantry can work, kitchen shelves might be a better option.
Spice organization on kitchen shelves allows for easy access and visibility, making cooking more enjoyable. Just remember to keep spices away from heat sources like the stove.
Choose containers that match your style, so your kitchen feels cohesive and inviting. You'll love the organized look!
How Often Should I Reorganize My Pantry?
You should reorganize your pantry regularly to keep it functional, fresh, and inviting. Aim for a cleaning schedule every season; this promotes pantry maintenance and helps with shelf rotation. During each session, assess what you've got, discard expired items, and rearrange for easier access.
What Are Some Budget-Friendly Storage Solutions?
When you're looking for budget-friendly storage solutions, consider DIY solutions that make the most of what you already have. Repurposed items like old shoeboxes can neatly organize your pantry.
Mason jars are perfect for storing dry goods, while plastic bins can help group similar items together. These options not only save money but also add a personal touch to your space, making it feel more inviting and organized.
Conclusion
Organizing your pantry might seem overwhelming, but it doesn't have to be. By following these ten simple steps, you'll create a space that's not only functional but also enjoyable to use. Remember, you don't need to tackle the entire pantry in one day—take it one step at a time. Before you know it, you'll have a well-organized pantry that saves you time and reduces stress. So, roll up your sleeves and get started; you've got this!

