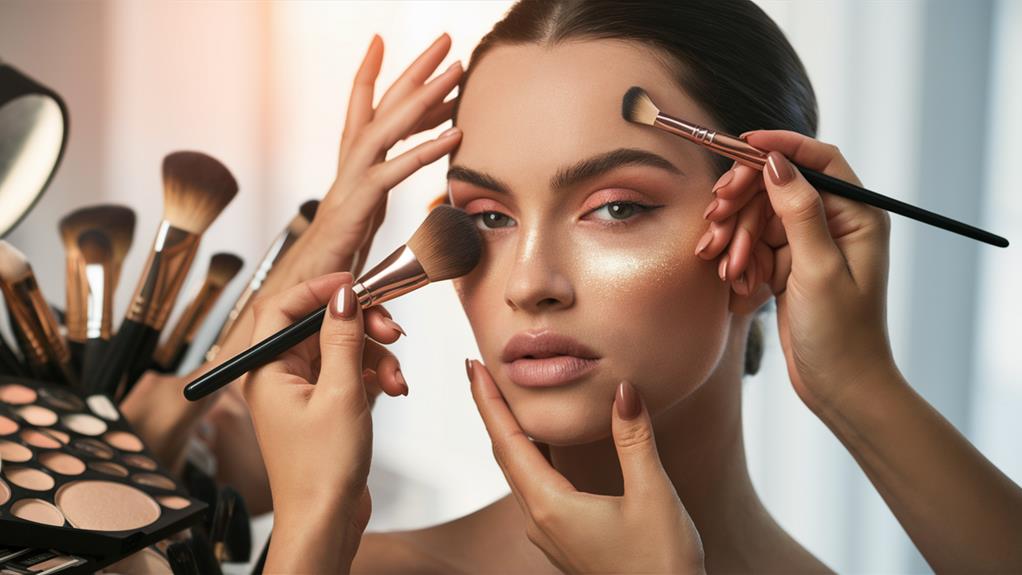
Mastering contouring and highlighting techniques can elevate your makeup game, creating a flawless finish that enhances your natural beauty. Start by understanding your face shape and using the right shades—darker hues to define and lighter ones to illuminate. Choose products suited to your skin type, and prep your canvas with clean, moisturized skin. Apply contour to the hollows of your cheeks and the jawline, then highlight your cheekbones and nose bridge. Remember to blend thoroughly for a seamless look. Avoid common pitfalls, and you'll achieve that stunning, polished appearance. The path to mastery is just ahead.
Key Takeaways
- Understand your face shape to tailor contour placement for enhancing your natural features effectively.
- Choose the right products based on your skin type and undertones for optimal results.
- Always prep your skin with cleansing, moisturizing, and priming for smooth makeup application.
- Use appropriate tools: dense brushes for contouring and fluffy brushes for highlighting to achieve a seamless finish.
- Apply makeup in natural light and adjust as needed to ensure a balanced and flawless look.
Understanding Contouring Basics
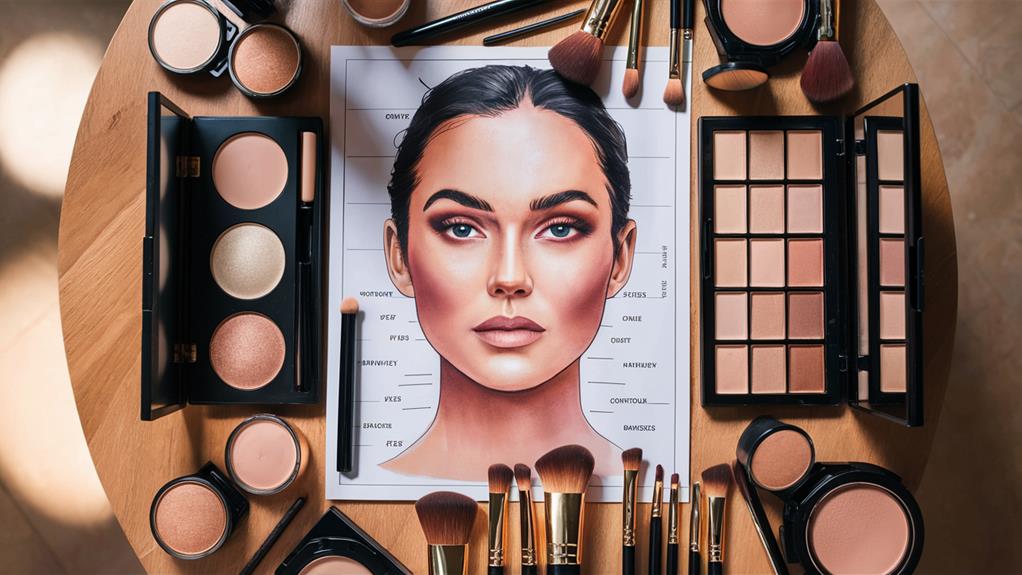
While mastering contouring might seem intimidating at first, understanding the basics can transform your makeup routine. Contouring isn't just about altering your face; it's about enhancing your natural beauty and celebrating your unique features.
To start, familiarize yourself with different face shapes—oval, round, square, heart, and diamond. Each shape has specific areas you'll want to highlight and contour to achieve a balanced look. Additionally, just as different hair types require tailored treatments, your contouring techniques may also need to adapt to your unique facial structure and skin type, much like how the best hair masks cater to various hair needs.
Next, immerse yourself in color theory. Contouring generally involves using shades darker than your skin tone to create shadows and lighter shades to highlight. For example, if you have a round face, you'll want to contour the sides of your forehead and under your cheekbones, drawing attention to the center of your face. Conversely, if you have an oval face, you might focus on softening your jawline instead.
As you apply contour, remember that blending is key. Use tools like brushes or sponges to guarantee a seamless finish; harsh lines can be unflattering. Additionally, consider your skin's undertones. Cooler undertones pair well with ashy contour shades, while warmer undertones benefit from golden hues.
Ultimately, contouring should feel like an extension of who you are. It's a way to express yourself, enhance your features, and connect with others who share your passion for makeup. Embrace the learning process, and soon, contouring will become a joyful part of your beauty routine.
Choosing the Right Products
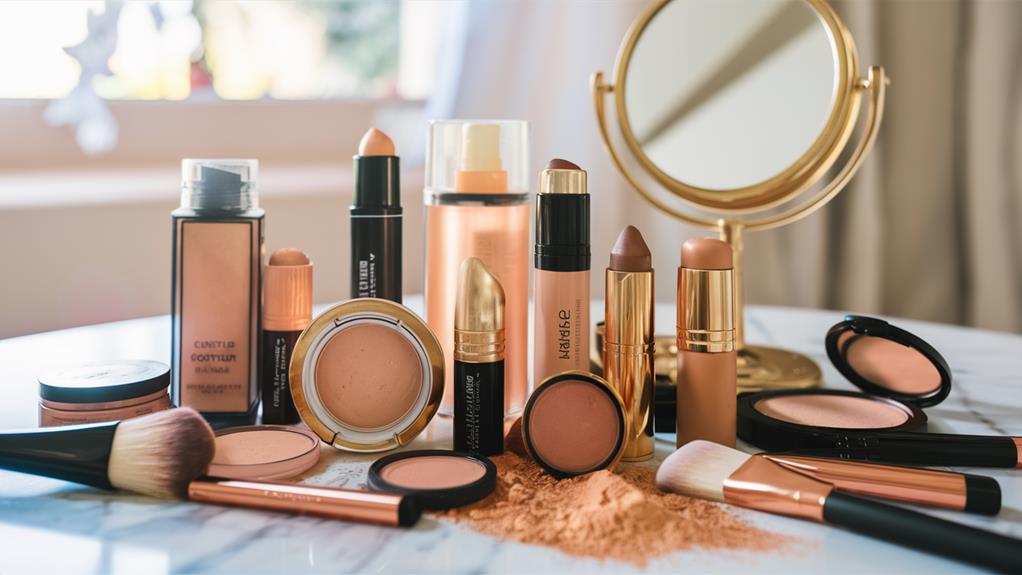
After grasping the fundamentals of contouring, selecting the right products can greatly elevate your technique. You'll want to reflect on your skin type, undertones, and budget when choosing between cream formulas and powder options. Creams tend to blend seamlessly into the skin, making them ideal for dry or mature skin types, while powders can be perfect for oily skin due to their mattifying properties.
To help you navigate your options, here's a handy comparison table:
| Product Type | Best For |
|---|---|
| Cream Formulas | Dry skin, natural finish |
| Powder Options | Oily skin, long-lasting |
| Budget Brands | Beginners, everyday use |
| High-End Picks | Professional looks, longevity |
When selecting products, pay attention to your skin undertones. Warm-toned individuals should gravitate towards golden or peachy shades, while cool-toned beauties will shine with taupe or rosy hues. Your choice of products can also affect longevity; high-end picks often provide greater staying power, while budget brands can work wonders with the right application techniques.
Ultimately, it's about finding what makes you feel confident and beautiful. Experiment with different products to discover your perfect match, and remember that mastering contouring is a journey—one that you'll enjoy at every step. Whether you're a makeup novice or a seasoned pro, the right products will help you achieve that flawless finish you desire.
Step-by-Step Application Guide
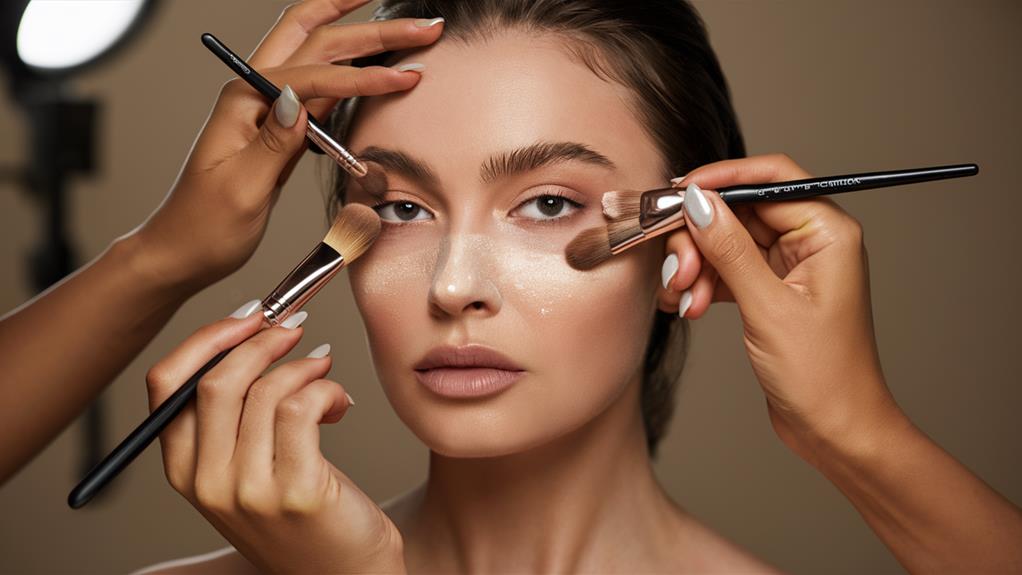
To master the art of contouring and highlighting, follow this simple step-by-step application guide that will transform your makeup routine. Understanding your unique face shape is essential, as it dictates where you'll place contour and highlight for the most flattering effect.
Incorporating techniques like those found in LED light therapy benefits can enhance your overall skincare routine, guaranteeing a smoother canvas for makeup application.
1. Prepare Your Canvas: Start with a clean, moisturized face. Apply a primer to create a smooth surface for your makeup. This step guarantees your contouring products blend seamlessly.
2. Map Your Contours: Using a contour brush, apply your contour product to the hollows of your cheeks, along your jawline, and at your temples. For different face shapes, adjust the placement:
- Oval: Focus on the jawline and temples.
- Round: Emphasize the hollows of the cheeks to create definition.
- Square: Soften the jawline by applying contour along the edges.
3. Highlight Strategically: With a clean contour brush or a beauty sponge, apply a highlight product to the high points of your face—your cheekbones, the bridge of your nose, and the center of your forehead. This brings light to your features and balances the shadow created by contouring.
Highlighting Techniques for Impact
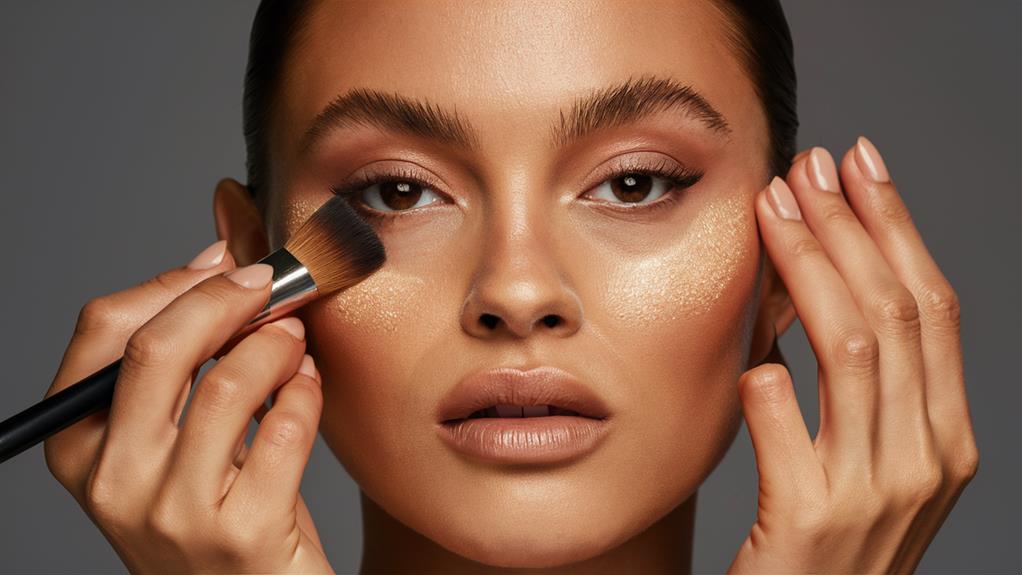
Highlighting techniques can dramatically elevate your makeup look, making your features pop with radiant brilliance. To achieve this, it's crucial to understand the various glow techniques that can enhance your natural beauty.
Start by selecting the right highlighter for your skin tone, whether it's cream, liquid, or powder. Cream formulas offer a dewy finish, perfect for dry skin, while powders provide a more refined and luminous finish suitable for oily skin. Additionally, experimenting with different textures can lead to a more unique highlight, similar to exploring various frothing options for your favorite drinks versatile frothing options.
To create a stunning highlight, focus on the high points of your face: the tops of your cheekbones, the bridge of your nose, the brow bone, and the cupid's bow. Applying highlighter with your fingertips can generate a more organic and luminous finish. If you prefer brushes, opt for a fan brush for a soft, diffused effect, or a dense brush for a more intense glow.
For an extra dimension, try layering your highlighter. Start with a cream base and add a powder on top for that striking glow that catches the light beautifully.
Don't shy away from experimenting with color; rose golds, icy silvers, and warm champagne tones can all bring a unique flair to your look.
Common Mistakes to Avoid
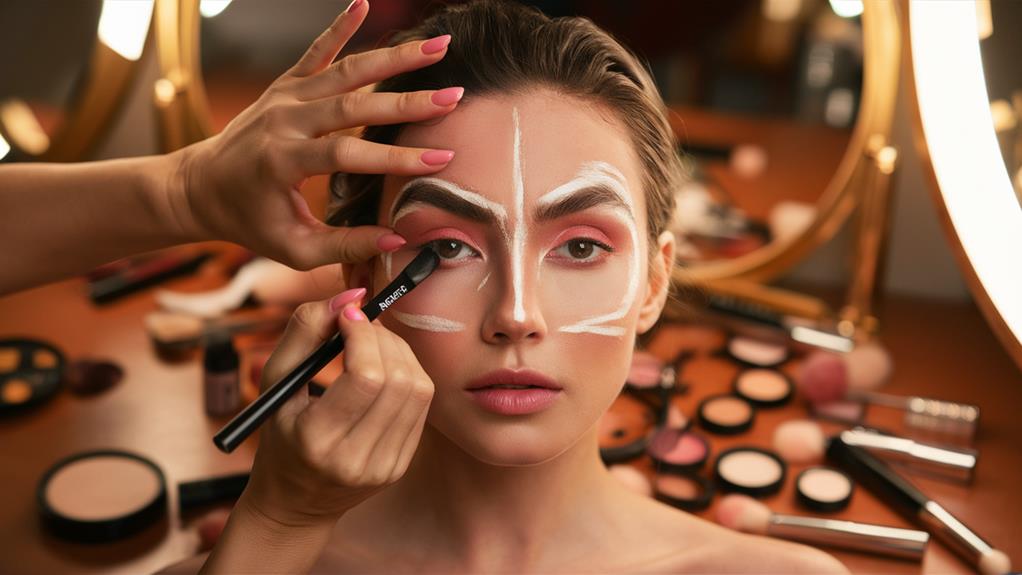
One of the most common mistakes people make with contouring and highlighting is applying too much product. Overdoing contrast can lead to a heavy, unnatural look that detracts from your natural beauty. To achieve that flawless finish, it's essential to avoid these pitfalls:
1. Skipping Prep: Never underestimate the power of a good base. Clean, moisturized skin allows products to blend smoothly.
Apply a primer suited to your skin type to create an even canvas for your makeup.
2. Using the Wrong Tools: The brushes and sponges you choose can make or break your application.
Opt for dense brushes for contouring and fluffy brushes for highlighting. This distinction guarantees a seamless blend, preventing harsh lines that scream "makeup."
3. Ignoring Lighting: Always apply your makeup in natural light whenever possible.
What looks good in artificial light may result in a completely different finish in daylight. Step outside, check your work, and adjust as needed to maintain that radiant look.
Frequently Asked Questions
Can Contouring and Highlighting Be Done on All Skin Types?
Contouring and highlighting can absolutely be done on all skin types, but you'll need to take into account your unique skin type when choosing your tools and products.
For dry skin, creamy products work best, while oily skin benefits from powders.
Always select contouring tools that complement your skin's texture and finish.
Experiment with different techniques to find what enhances your natural beauty, ensuring you feel confident and radiant no matter your skin type.
How Do I Choose the Right Contour Shade for My Skin Tone?
"Beauty is in the eye of the beholder."
To choose the right contour shade for your skin tone, identify your skin undertones—warm, cool, or neutral.
For warm undertones, opt for shades with golden or peachy hues. If you have cool undertones, go for taupe or ash tones.
Test different shades along your jawline to find the perfect match.
Is It Necessary to Set Contour and Highlight With Powder?
Setting your contour and highlight with powder isn't strictly necessary, but it can enhance contour longevity and highlight intensity.
If you want your look to last all day, a light dusting of setting powder can help lock everything in place. This step also minimizes shine and creates a smoother finish.
Experiment with different products to find what best suits your skin type and desired look; it's all about creating your perfect style.
Can I Use Cream Products Over Powder Makeup?
You might think that layering cream products over powder is a no-go, but it's totally possible with the right cream product compatibility!
To achieve a seamless look, apply your cream products gently, using layering techniques to avoid disturbing the powder beneath.
Just remember, less is more—start with a light hand.
Blend carefully to guarantee you maintain that flawless finish, allowing you to feel confident and beautiful in your makeup application!
How Often Should I Practice Contouring and Highlighting Techniques?
You should practice contouring and highlighting techniques regularly to see real improvement.
Aim for at least two to three times a week; this practice frequency helps you refine your skills and build muscle memory.
Experiment with different products and styles each session, allowing for creative flair.
Remember, the more you practice, the more confident you'll become.
Embrace the journey of technique improvement, and soon enough, you'll feel like a pro in no time!
Conclusion
You might think contouring and highlighting are too complicated, but with the right techniques, anyone can achieve a flawless look. By understanding the basics, choosing quality products, and following our step-by-step guide, you'll find it's easier than you think. Embrace the artistry of makeup and enhance your features with confidence. Remember, practice makes perfect, and soon you'll master these skills, turning your daily routine into an empowering creative expression that highlights your unique beauty.

