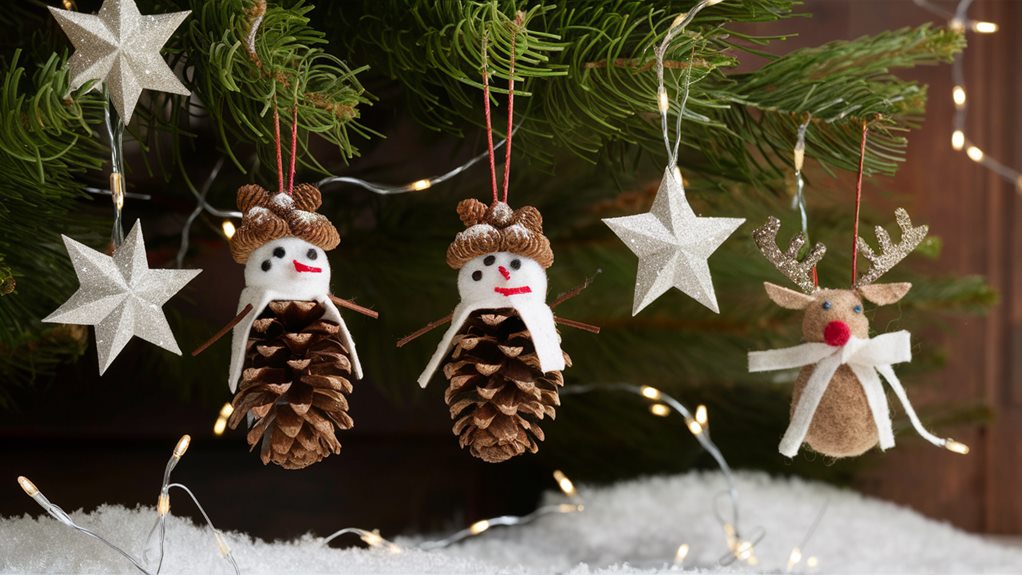
You can easily craft delightful winter holiday ornaments that add charm to your home. Try making pinecone ornaments by painting clean, dry pinecones in vibrant colors. Salt dough decorations are another fun option; mix flour, salt, and water, roll it out, and use cookie cutters to shape them. For a winter wonderland vibe, fold paper into triangles and cut intricate snowflakes to hang. Yarn-wrapped baubles bring a cozy feel—just wrap colorful yarn around baubles for unique designs. Don't forget DIY photo ornaments; use clear ornaments and cherished pictures for personal touches. There's so much more to explore, so keep going!
Key Takeaways
- Pinecone ornaments are simple to craft using clean, dry pinecones and vibrant paints for a natural, festive look.
- Salt dough decorations allow for creativity and bonding, using a mix of flour, salt, and water to create shapes.
- Create beautiful paper snowflakes by folding white paper and cutting intricate designs, perfect for window displays or ceiling decorations.
- Yarn-wrapped baubles offer a cozy touch; simply wrap colorful yarn around baubles for unique designs to hang around your home.
- DIY photo ornaments personalize your holiday decor by placing cherished pictures inside clear ornaments, showcasing special memories on your tree.
Pinecone Ornaments
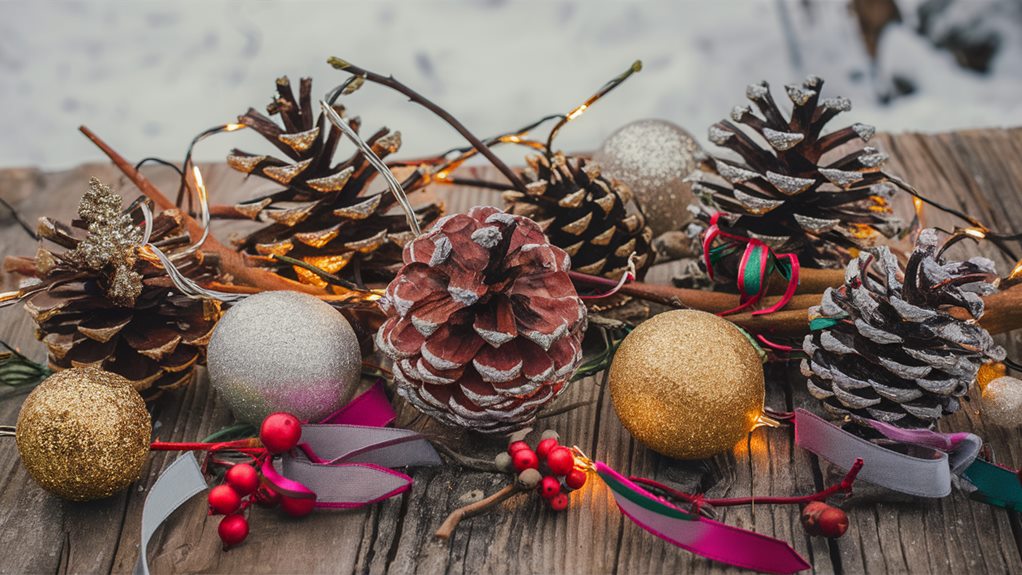
Amidst the chill of winter, pinecone ornaments bring a touch of nature's beauty into your home. These delightful decorations not only invite the season's spirit but also create a warm, inviting atmosphere. As you craft, consider how the act of creating can enhance your overall well-being, similar to how fresh, flowing water encourages pets to stay hydrated.
You'll find that crafting painted pinecones is an enjoyable project that can be done solo or with loved ones, fostering a sense of togetherness.
Start by gathering pinecones from your backyard or local park. Make sure they're clean and dry. Choose a few vibrant paint colors—perhaps a rich red, deep green, or shimmering gold. You can use acrylic paint for a smooth finish; simply apply it with a brush or immerse the pinecones directly into the paint. Let your creativity shine as you experiment with different designs and patterns.
For a touch of sparkle, try making glitter pinecones. After painting your pinecones, while they're still wet, sprinkle them with glitter to create a dazzling effect. You can use a mix of fine and chunky glitter for a more textured look. Once they're dry, attach a piece of twine or ribbon to hang them up.
These charming ornaments can adorn your tree, decorate your mantle, or even be gifted to friends and family. As you craft, you're not just creating decorations; you're weaving memories and traditions that'll bring you closer to those you love. So, grab your supplies and immerse yourself in this festive project that celebrates the beauty of winter!
Salt Dough Decorations

After enjoying the rustic charm of pinecone ornaments, you might want to explore another delightful crafting option: salt dough decorations. These easy-to-make ornaments not only add a personal touch to your holiday decor, but they also create a wonderful bonding experience with family and friends. Plus, you can customize them to fit your unique style! Crafting can be a fun way to engage with loved ones, similar to how pet owners enjoy using technology for their furry friends' safety, like GPS pet trackers that enhance pet monitoring.
To get started, gather these simple materials:
- Flour – 2 cups
- Salt – 1 cup
- Water – 1 cup
- Acrylic paint or glitter – for decoration
Mix the flour, salt, and water in a bowl until it forms a dough. Knead it for a few minutes, then roll it out to about ¼ inch thick. Use cookie cutters to create fun shapes, like stars, snowflakes, or holiday-themed figures. Once you've cut out your designs, make a small hole at the top for hanging.
Now, the real fun begins! You can turn your creations into painted salt dough ornaments by adding vibrant colors with acrylic paint. For a little extra sparkle, sprinkle on some glitter for glittery salt dough decorations. Once they're dry, string them up and hang them on your tree or around your home.
Salt dough ornaments aren't just crafts; they're memories in the making. Enjoy the process, share ideas, and let your creativity shine as you celebrate the season together!
Paper Snowflakes
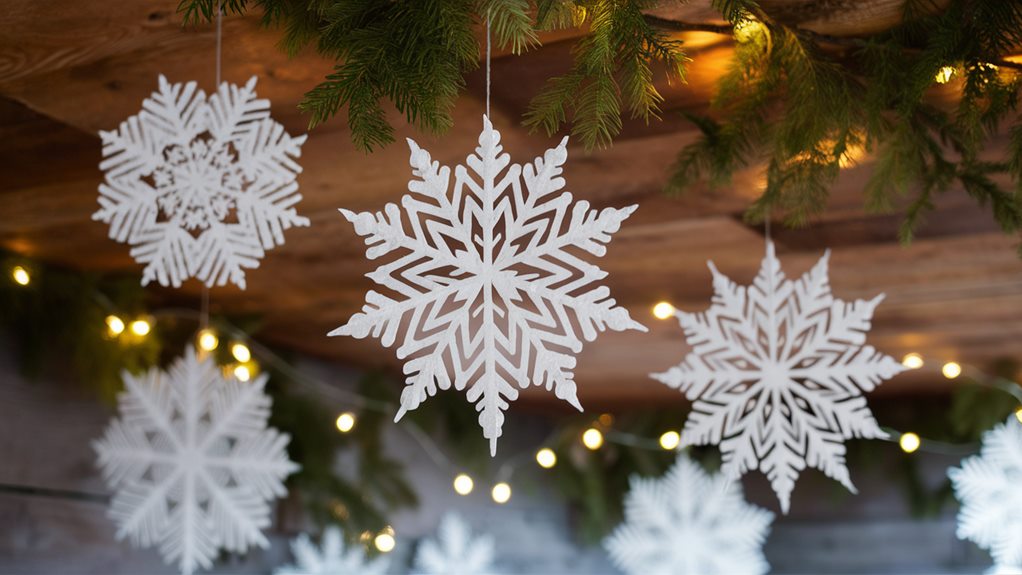
As winter settles in and the holiday spirit fills the air, creating paper snowflakes can be a delightful way to embrace the season's magic. These delicate decorations not only add charm to your home but also offer a fantastic opportunity for creativity and togetherness. Plus, they make for great affordable gifts for friends and family during the holidays best gifts under $15. Grab some plain white paper, scissors, and a pencil, and let's start crafting!
Begin by folding your paper into a triangle. The more you fold, the more intricate your snowflake patterns will be. You can fold it in half, then into thirds, and keep folding until you have a tight triangle.
Now, it's time to draw your design! Use a pencil to sketch shapes along the edges—think triangles, curves, or even hearts. Feel free to let your imagination run wild; no two snowflakes need to look the same!
Once you've got your design, carefully cut along the lines, and unfold your masterpiece. You'll be amazed at the unique patterns that emerge!
For a stunning display, attach your snowflakes to strings and hang them in windows or from the ceiling. These hanging decorations will dance in the light, creating a winter wonderland vibe in your space.
Invite friends or family to join you in this fun activity, turning it into a cherished holiday tradition. As you create, share stories and laughter, making memories that'll warm your heart all season long.
Enjoy the beauty of your handmade paper snowflakes, and let the holiday spirit shine bright!
Yarn-Wrapped Baubles
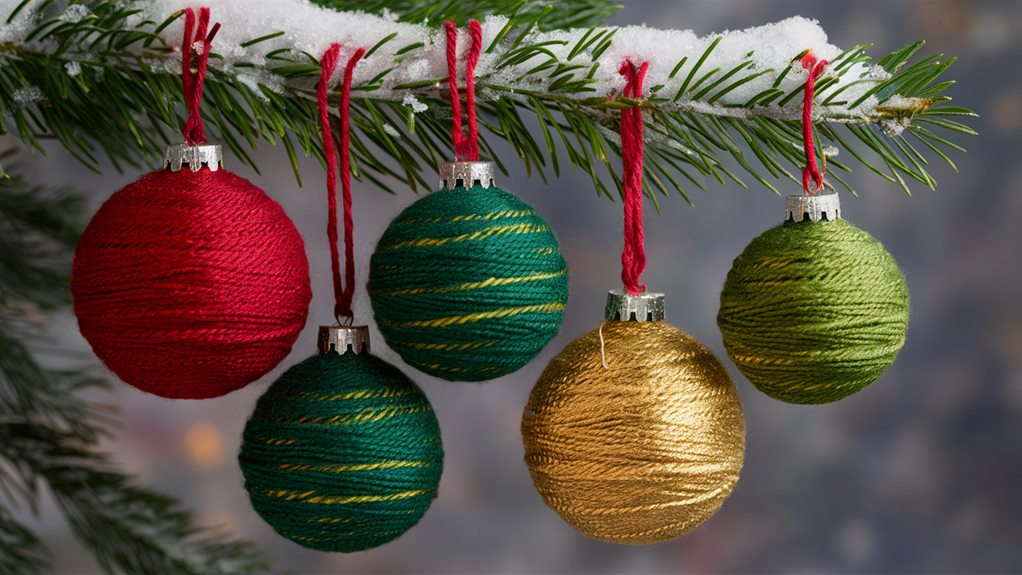
Transform your holiday decorations with charming yarn-wrapped baubles that add a cozy touch to your winter festivities. These delightful ornaments aren't only easy to make, but they also allow you to express your creativity while bringing everyone together. You can use colorful yarn to create unique designs that reflect your personal style and warmth.
Here's what you'll need to get started:
- Baubles: Choose plain, smooth ornaments in various sizes for a playful look.
- Colorful yarn: Pick your favorite shades, or mix and match to create a vibrant palette.
- Scissors: You'll need these to cut your yarn into manageable lengths.
- Glue: A hot glue gun works best to secure the yarn, but craft glue can also work.
Start by applying a small amount of glue to the top of your bauble. Then, attach the end of the yarn and begin wrapping it around the ornament. You can create stripes, spirals, or even crisscross patterns—let your imagination run wild!
As you wrap, make sure to keep the yarn snug but not too tight. Once you've covered the bauble to your liking, seal the end of the yarn with a bit of glue.
Hang your beautiful yarn-wrapped baubles on your tree or around your home, inviting warmth and joy into your holiday season. These creative designs will surely spark conversations and create a sense of belonging among family and friends.
DIY Photo Ornaments
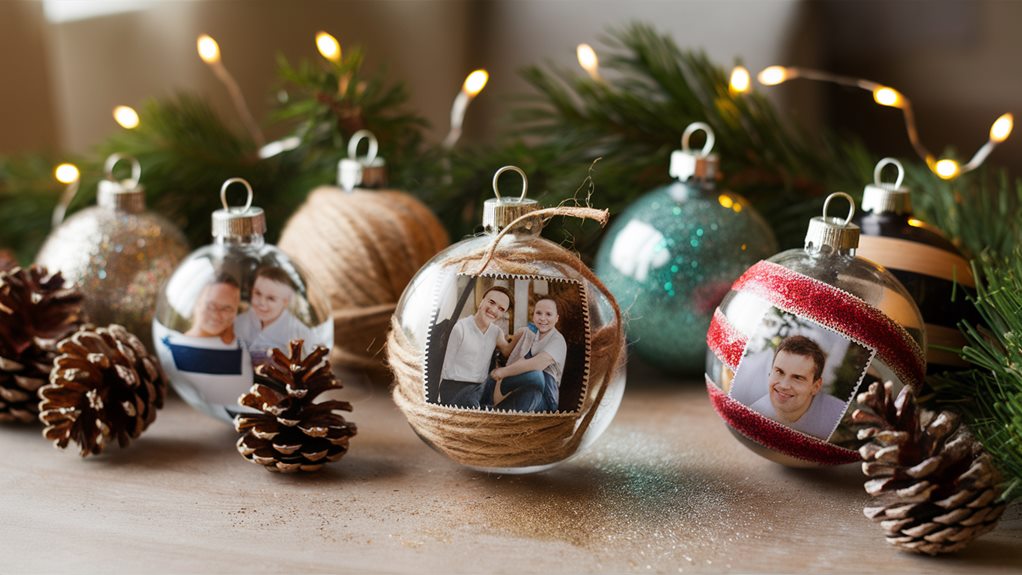
Capture your favorite memories this holiday season by making DIY photo ornaments that personalize your tree and bring a smile to your face. These ornaments not only serve as a creative display but also transform your festive photos into cherished keepsakes. They're perfect for showcasing those special moments with family and friends, and they make sentimental gifts that'll warm the hearts of your loved ones.
To get started, gather your materials: clear plastic or glass ornaments, printed photos, scissors, and ribbon or twine.
First, choose photos that evoke joy—maybe a family vacation, a festive gathering, or a beloved pet. Trim the photos to fit inside your ornaments, ensuring they'll be visible when hung.
Next, carefully open your ornaments and insert the photos. If you're using glass, be gentle to avoid breakage. For added flair, sprinkle in some glitter or tiny ornaments to enhance the visual appeal.
Once you've filled your ornaments, secure them back together and tie a colorful ribbon around the top for that extra festive touch.
Hang your DIY photo ornaments on your tree, allowing them to shine brightly alongside traditional decorations. Each time you catch a glimpse, you'll be reminded of those personalized memories that bring you closer to your loved ones.
Frequently Asked Questions
What Materials Are Safe for Children to Use in These Crafts?
When crafting with kids, it's crucial to choose child-friendly materials. Opt for non-toxic paints, safe scissors, and biodegradable glues to guarantee fun without worry.
Always implement safety precautions, like supervising their use of tools and keeping small items away from younger children.
Encourage creativity by letting them explore textures like felt or paper. By creating a safe space, you'll foster a sense of belonging and help them express their artistic flair!
How Can I Store Handmade Ornaments Without Damaging Them?
To store your handmade ornaments properly, choose a sturdy box lined with tissue paper. Wrap each ornament individually to prevent breakage, ensuring they're cushioned. Use dividers if possible to keep them from knocking against each other. Label the box with the year or occasion, so you can easily find them later. This thoughtful storage method not only protects your cherished creations but also makes unpacking them a joyful experience each holiday season.
Can I Customize Colors for These Ornaments Easily?
Absolutely, you can easily customize colors for your ornaments! Start by gathering your favorite paints or dyes, and don't be afraid to experiment with creative ideas. Mix colors to create personalized ornaments that reflect your unique designs. Consider using stencils or tape for clean lines and patterns.
As you paint, let your personality shine through, making each ornament a special piece that connects to your memories and traditions. Enjoy the process!
What Are Some Tips for Cleaning up After Crafting?
Ever wondered how to make cleanup after crafting a breeze? Start by organizing your supplies before you begin; it'll save you time later.
Use a large bin for scraps and a damp cloth for sticky surfaces.
After you're done, sweep or vacuum to catch any stray bits.
Don't forget to put everything back in its designated spot—this helps you feel accomplished and ready for your next creative adventure!
How Can I Involve My Entire Family in These Projects?
To involve your entire family in DIY ornament projects, gather age-appropriate supplies that everyone can use. Set up a crafting station where everyone feels included and can express their creativity. Encourage family bonding by sharing ideas and letting kids take the lead on certain tasks.
Create a festive atmosphere with music and snacks to enhance the experience. Celebrate each finished ornament together, making the crafting session a memorable family tradition you can cherish.
Conclusion
So there you have it—your ticket to transforming your home into a winter wonderland! With just a sprinkle of creativity and a dash of holiday spirit, you can whip up ornaments that'll make Santa himself do a double take. Imagine the joy on your family's faces as they marvel at your dazzling creations! So grab those supplies, awaken your inner elf, and get crafting—because these ornaments are bound to become the stuff of legends this holiday season!

