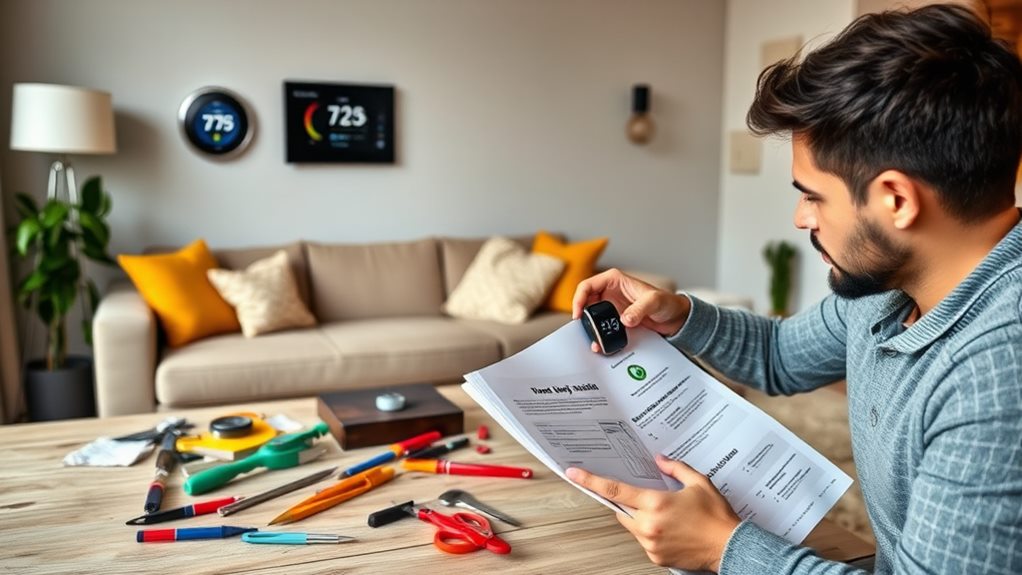
Installing your smart thermostat is easier than you think! Start by gathering necessary tools and turning off the power to your HVAC system. Carefully remove the old thermostat, labeling all wires for reference. Next, install the mounting plate securely on the wall. Attach your new thermostat, ensuring wires are tucked in neatly, then restore power. Configure your settings, connecting to Wi-Fi for remote access, and program your preferred schedules. Finally, test its functionality by adjusting the temperature to see how it responds. Ready to optimize your setup? There's more to learn about making the most of your smart thermostat!
Key Takeaways
- Gather tools and ensure your HVAC system is compatible with the new smart thermostat before starting the installation process.
- Turn off the power to your heating and cooling system to ensure safety during installation.
- Carefully remove the old thermostat, labeling each wire for easy reference during the new thermostat installation.
- Install the mounting plate securely on the wall, ensuring alignment and support for the new thermostat.
- Connect the wires, restore power, and configure the settings for optimal performance and energy savings.
Gather Necessary Tools
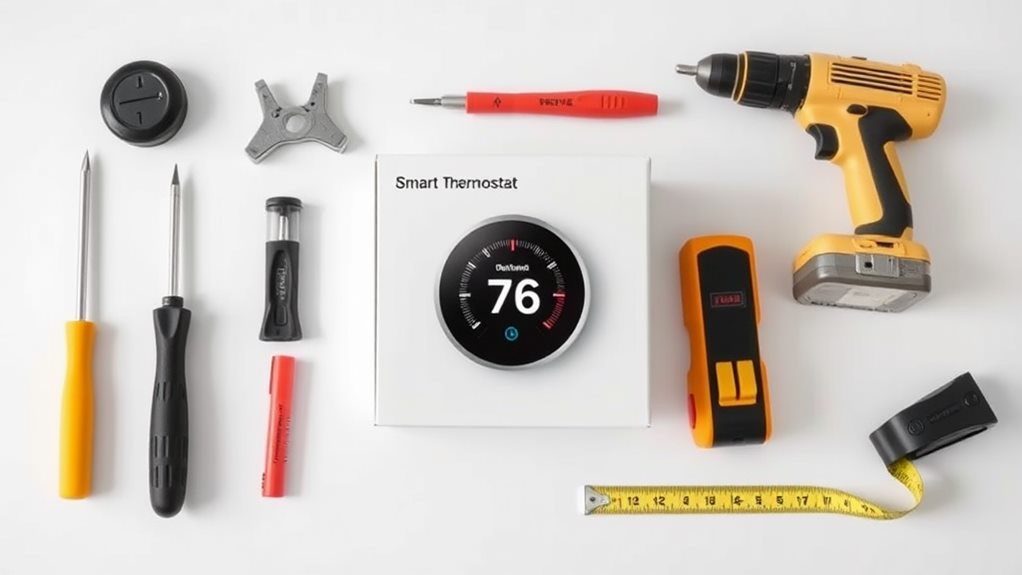
Gathering the necessary tools is a pivotal first step in installing your smart thermostat. Before diving into the installation process, you'll want to make sure you have everything you need on hand. This not only makes the job easier but also ensures you stay organized and efficient.
Start with a screwdriver, wire strippers, and a level. These tools will help you with the physical installation, making certain everything is securely attached and aligned. Additionally, understanding the energy efficiency and savings potential of your chosen smart thermostat can motivate you to complete the installation promptly.
Next, don't forget to perform compatibility checks on your current system. Not all smart thermostats work with every heating and cooling system, so double-check the specifications of your chosen device. This will save you time and frustration later on. It's also a good idea to familiarize yourself with your existing wiring. Knowing what you're working with can make the installation smoother and help you troubleshoot any issues that may arise.
While you're gathering tools, it's also essential to contemplate safety precautions. For instance, wearing gloves can protect your hands while working with wires, and goggles can shield your eyes from dust or debris. Taking these simple steps helps create a safe environment for your project.
Turn Off Power
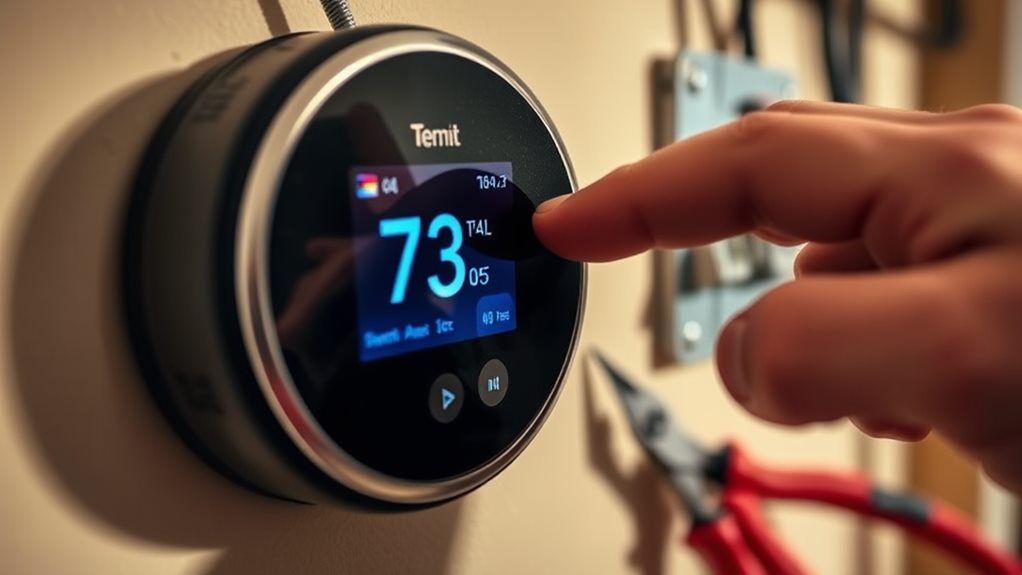
Before you begin the installation process, it's important to turn off the power to your heating and cooling system. This critical step guarantees your safety and shields your new smart thermostat from any electrical mishaps. You want to avoid any accidents, so taking the time to switch off the power is a crucial safety precaution.
Additionally, ensuring your home is equipped with reliable devices like GPS trackers can further enhance your home security and peace of mind, especially if you have valuables to monitor real-time location monitoring.
To do this, locate your circuit breaker panel and identify the correct breaker for your HVAC system. If you're unsure, consult the labels on the panel or seek guidance from someone with electrical knowledge. It's always better to double-check than to take unnecessary risks.
Once you've switched off the power, you can take a moment to reflect on the energy efficiency and cost savings your new smart thermostat will bring. By optimizing your heating and cooling schedules, you're not just installing a gadget; you're making a commitment to a more sustainable lifestyle. That's something you can feel good about!
Make sure to inform anyone else in your home that you're working on the system, as this prevents anyone from accidentally turning the power back on during the installation.
With the power off and your safety ensured, you can now proceed confidently to the next steps of the installation. So, take a deep breath, and get ready to bring your home into the future with your new smart thermostat!
Remove Old Thermostat
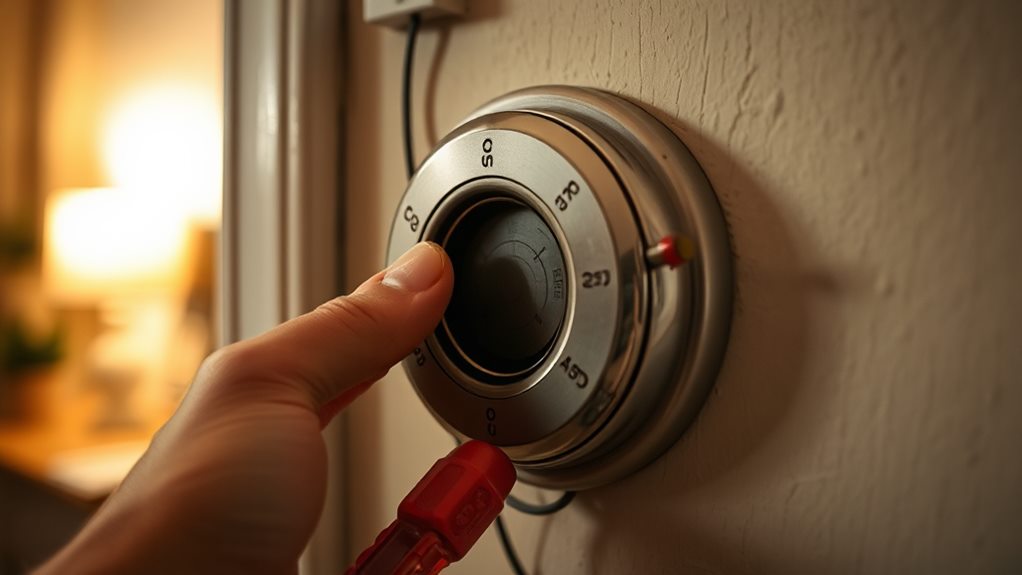
Now that you've verified the power is off, it's time to tackle the task of removing your old thermostat. Start by carefully unscrewing the thermostat from the wall. Use a screwdriver to remove any mounting screws, and gently pull the thermostat away from the wall. Be cautious not to damage the wall or the wires behind it. For a seamless installation, consider consulting resources on laptop performance factors that highlight the importance of understanding your device's specifications.
Once it's off, take a moment to identify the wires connected to the thermostat. You'll want to keep these intact for your new smart thermostat, so handle them with care.
After disconnecting the wires, it's a good idea to make a note of where each wire was attached. This will help you later when you connect your new device.
Now, don't forget about recycling options! Many communities offer recycling programs for electronic devices, including old thermostats. By recycling, you're not only decluttering your space, but you're also contributing to energy efficiency by ensuring that electronic waste is disposed of properly. Check local guidelines to see how you can recycle your old unit responsibly.
Label Wires
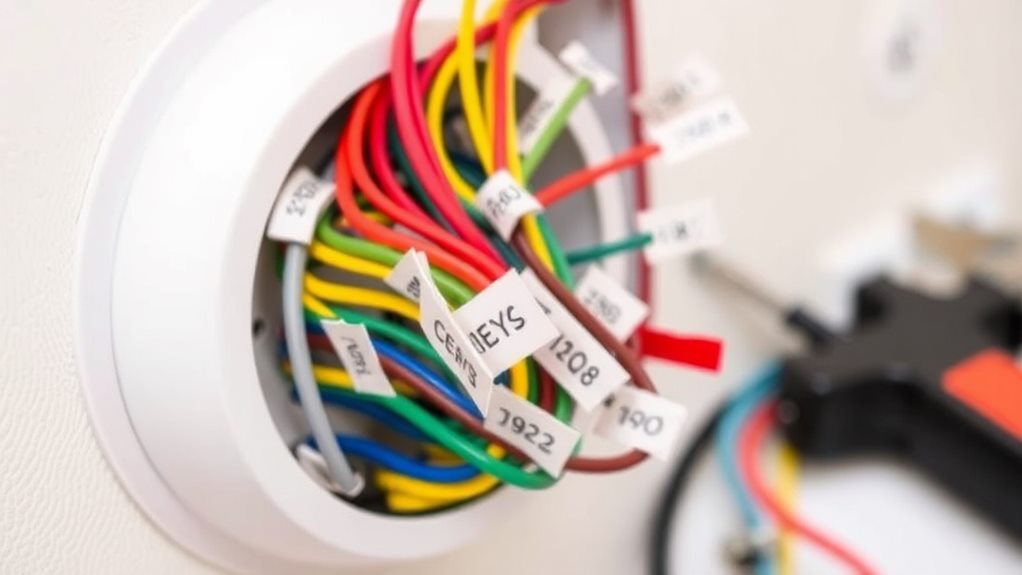
With the old thermostat removed and the wires exposed, it's important to label each wire to guarantee a smooth installation of your new smart thermostat. Proper wire identification not only simplifies the process but also helps you avoid any potential mishaps when connecting your new device. Here's a straightforward way to tackle this task:
- Gather Supplies: Grab some masking tape or wire labels and a permanent marker. You'll need these to clearly mark your wires.
- Identify Each Wire: Look closely at the wires coming from the wall. Common colors include red (R), green (G), yellow (Y), and white (W). Use the wiring diagram that came with your new thermostat to determine which wire corresponds to each terminal.
- Label Accordingly: Write down the wire's function or color on the tape or label and attach it to the wire. This will make it easy to reference during installation.
- Double-Check Compatibility: Before moving on, verify that the wires you've labeled are compatible with your new thermostat. A quick compatibility check can save you time and frustration later.
Install Mounting Plate
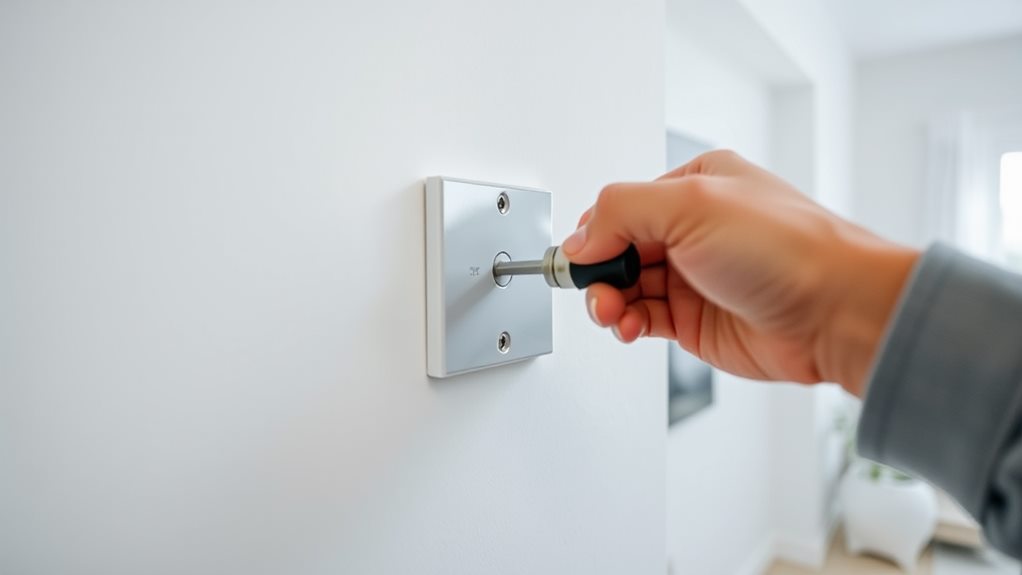
Once you've labeled your wires, it's time to install the mounting plate for your smart thermostat. This step is essential for guaranteeing your new device functions correctly and looks great on your wall.
First, check the compatibility of the mounting plate with your thermostat model. Most smart thermostats come with a mounting plate that fits standard configurations, but double-checking can save you time and hassle later.
Next, you'll want to determine the best mounting plate positioning. Hold the plate against the wall where you plan to install the thermostat. Ensure it's straight; a tilted thermostat can affect its performance and may look unattractive. Use a pencil to mark the screw holes on the wall, and if you're installing it over an old thermostat location, line it up to cover any unsightly marks.
Once your marks are ready, drill pilot holes for the screws. If you're mounting it on drywall, consider using wall anchors for additional support.
After that, align the mounting plate with your marks and use screws to secure it in place. Make sure it's securely attached—you don't want it moving later on.
Connect Wires
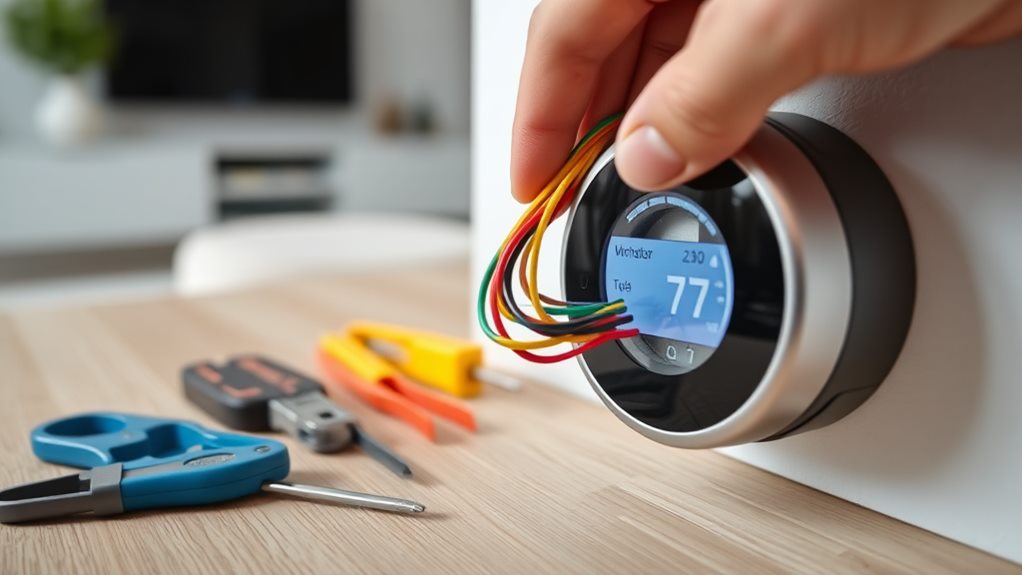
After securely mounting the plate, it's time to connect the wires to your smart thermostat. This step is essential for ensuring your thermostat works seamlessly with your heating and cooling system. Before diving in, check your wire compatibility to confirm that the wires from your system align with the terminals on your thermostat.
Here's a straightforward guide to help you through the installation process:
- Identify Wires: Look for the wires coming from your wall. Common colors include red (R), white (W), yellow (Y), and green (G). Each color usually corresponds to a specific function in your system.
- Match Wires to Terminals: Refer to your thermostat's installation manual. Connect each wire to the corresponding terminal. For example, the red wire typically goes to the R terminal.
- Secure Connections: Make sure each wire is firmly secured in its terminal. Loose wires can lead to inconsistent performance or even system failure.
- Double-Check Compatibility: Before you finish, double-check that you've connected the correct wires to the appropriate terminals. This will save you time and potential headaches.
Connecting the wires may seem overwhelming, but take your time and follow these steps closely. Once you've got everything in place, you're one step closer to enjoying the benefits of your new smart thermostat. Remember, you're part of a community that values comfort and efficiency!
Attach Smart Thermostat
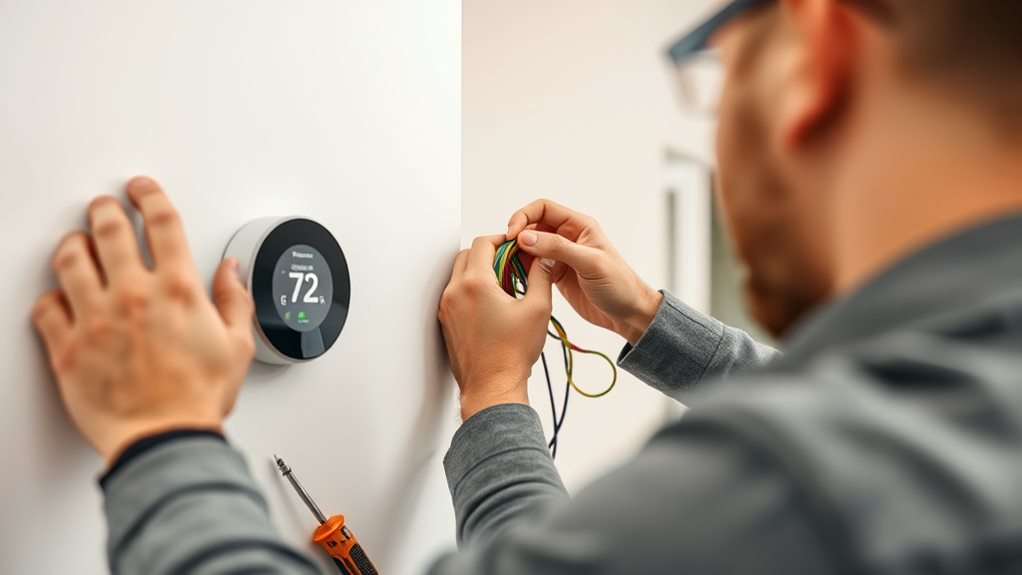
Now it's time to affix your intelligent thermostat to the wall plate you've just set up. Start by carefully aligning the thermostat with the plate. Make sure that the wires are neatly tucked into the back. This will help prevent any pinching or damage when you press it into place.
Once properly aligned, gently push the thermostat onto the wall plate until it securely clicks into place. It's vital to conduct a quick compatibility check before initiating this process. Review the manufacturer's guidelines to verify that your thermostat is compatible with your heating and cooling systems. If you're uncertain, seek troubleshooting tips online or refer to the user manual.
After installation, take a moment to ponder energy-saving recommendations. Adjust your thermostat settings to optimize energy consumption, which can result in significant savings on your energy bills. Many intelligent thermostats offer the option to establish schedules and utilize geofencing features to manage your home's temperature more efficiently.
Lastly, contemplate smart home integration. If your thermostat is integrated into a smart home network, ensure it's appropriately linked so you can effortlessly control it through voice commands or an application. This integration not only boosts convenience but also assists you in maintaining a comfortable and energy-efficient home.
Mounting your smart thermostat is a pivotal step, and adhering to these instructions will aid you in establishing a more connected and efficient living environment. Enjoy the advantages of your new device!
Restore Power
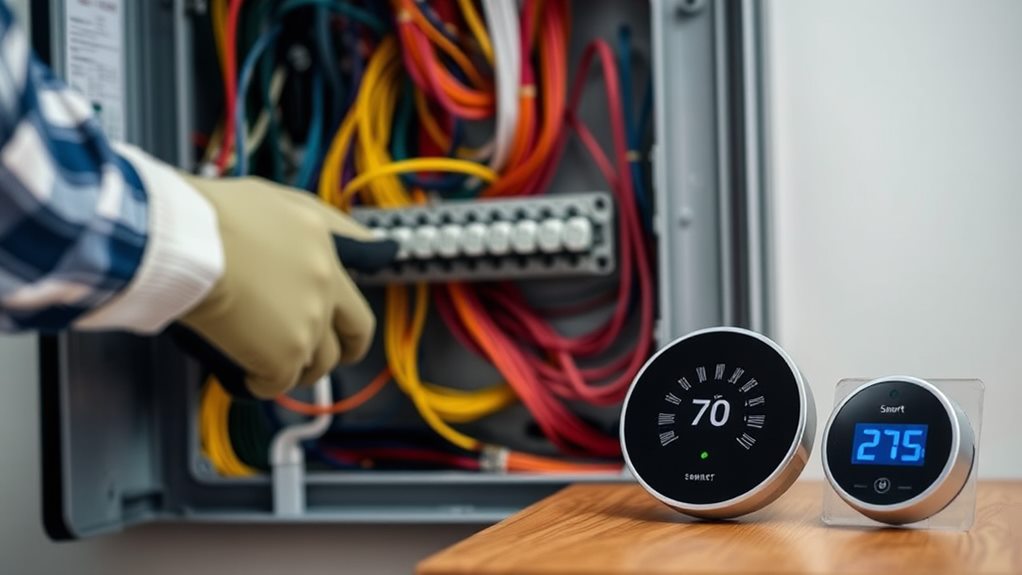
Restoring power to your heating and cooling systems is an essential step that can bring your smart thermostat to life. After you've securely attached your device, it's time to get everything running again. Before flipping the switch, keep in mind some important safety precautions to guarantee a smooth experience.
Here's a quick checklist to guide you through the process:
- Check for Power Outages: Confirm that there aren't any widespread issues in your area. If there's a power outage, wait for it to be resolved before proceeding.
- Inspect Electrical Wiring: Double-check that all electrical wiring is correctly connected. Loose wires can cause problems down the line, so make sure everything is secured.
- Turn On the Power Source: Locate your circuit breaker and flip the switch back on. Guarantee any systems connected to your thermostat are also powered up.
- Test Your Thermostat: Once the power is restored, your thermostat should light up. If it doesn't, use some troubleshooting tips—like resetting the device or checking for blown fuses—to identify the issue.
Taking these steps not only helps you restore power but also guarantees your home's comfort system is ready for action. You're part of a community of tech-savvy homeowners making smart choices, and with each step, you're moving closer to enjoying your new smart thermostat!
Configure Settings
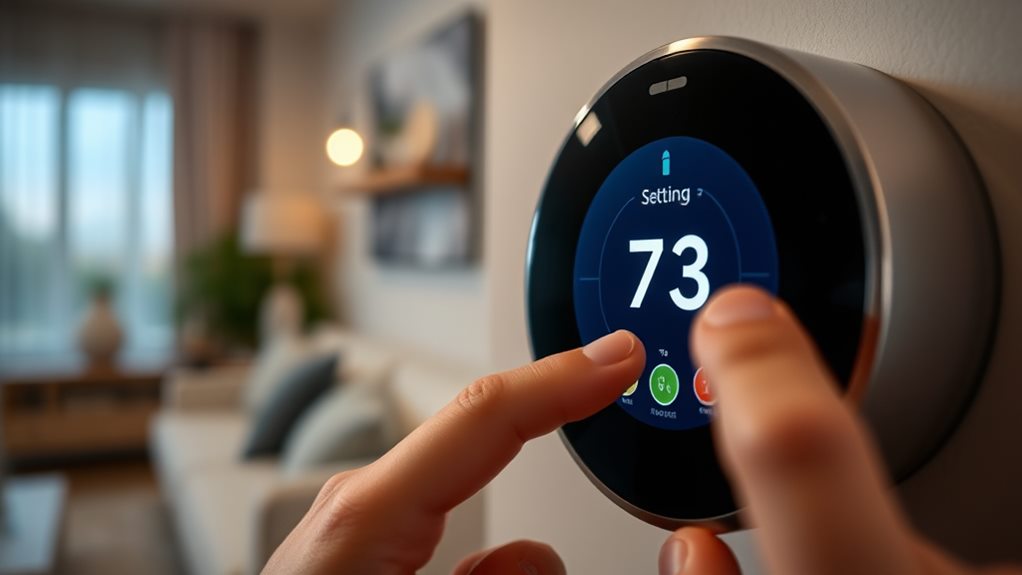
With the power restored, it's time to set up your smart thermostat's settings to best suit your lifestyle. Start by connecting your thermostat to your Wi-Fi network. This step is essential for remote access, allowing you to adjust settings from your smartphone, tablet, or computer, no matter where you are.
Next, immerse yourself in temperature scheduling. This feature lets you program different temperatures for various times of the day, so your home stays cozy when you're there and saves energy while you're away.
For instance, you might want it cooler during the day while you're at work and warmer in the evenings when you relax at home.
Don't forget to explore energy-saving tips available in your thermostat's settings. Many models offer suggestions tailored to your usage patterns, helping you maximize efficiency and lower your utility bills. You'll feel great knowing you're contributing to a greener environment while enjoying a comfortable home.
If you've integrated other smart home devices, take advantage of that smart home integration. Sync your thermostat with your smart lights or security system for seamless operation.
For example, your thermostat can automatically adjust when your security system is armed or disarmed.
Configuring these settings not only enhances your comfort but also connects you to a community of smart homeowners who prioritize energy efficiency and convenience. Embrace the technology and enjoy the benefits of a well-configured smart thermostat!
Test Functionality
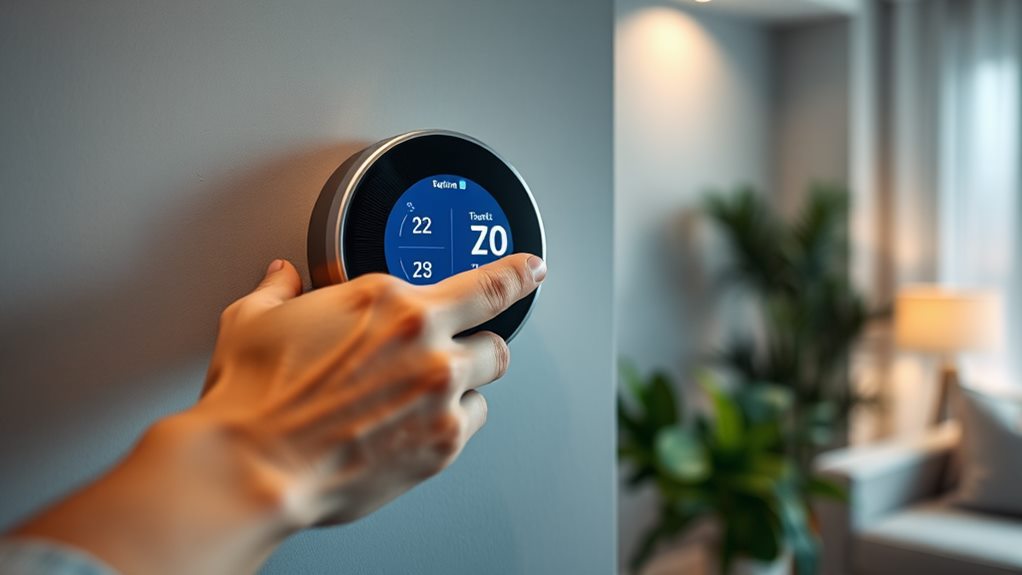
Once you've set up your settings, it's essential to test the functionality of your smart thermostat to make sure everything operates as intended. This step is necessary, as it confirms your home remains comfortable and energy-efficient. Here's how you can effectively test your new device:
- Set a Desired Temperature: Start by adjusting the thermostat to a temperature that's comfortable for you. Watch how it responds—does it heat or cool your space as expected?
- Check the Schedule: If you've set a schedule, make sure it kicks in at the designated times. This will help you confirm that your thermostat can manage your heating and cooling efficiently.
- Use the App Features: Open the accompanying app on your smartphone. Check for remote access capabilities and verify you can adjust settings from anywhere. This feature is a great way to monitor your home climate on the go.
- Perform a Compatibility Check: If something seems off, revisit your compatibility check. Confirm the thermostat is properly linked with your heating/cooling system.
If you encounter any issues, don't worry! Here are some quick troubleshooting tips: restart the thermostat, double-check your wiring, and verify your Wi-Fi connection is stable.
With these steps, you'll not only confirm that your smart thermostat works but also feel confident in its capabilities. Enjoy your enhanced home comfort!
Frequently Asked Questions
Can I Install a Smart Thermostat Without Professional Help?
Yes, you can install a smart thermostat without professional help! Many people tackle DIY installation successfully. Start by reading the instructions carefully and gathering necessary tools. Verify that your system is compatible with the thermostat.
If you encounter any issues, don't worry; there are plenty of troubleshooting tips available online to guide you. With a little patience and confidence, you'll have your smart thermostat up and running in no time, enhancing your home's comfort!
Will a Smart Thermostat Work With My Existing Heating System?
Yes, a smart thermostat can work with your existing heating system, but you need to perform a compatibility check first. Most models are designed to fit various systems, including gas, electric, and heat pumps. Installation tips suggest researching your current setup to guarantee a smooth DIY option.
How Do I Know if My Home Is Compatible?
To know if your home's compatible, start with a compatibility check. Look up your heating system's specifications and compare them with smart thermostat models. Many brands offer online tools for this. If you're uncertain, check user forums for troubleshooting tips or ask a professional.
What Should I Do if Wires Are Not Color-Coded?
Imagine trying to untangle a box of mixed-up holiday lights; it's challenging, right? If your wires aren't color-coded, don't panic. Start by labeling wires as you identify them; it'll save you headaches later.
Use a multimeter to check voltage and make sure you know which wire does what. This process might feel overwhelming, but with a little patience, you'll have everything sorted and your thermostat installed in no time.
You've got this!
Are There Any Specific Apps Needed for My Smart Thermostat?
When you're setting up your smart thermostat, app compatibility is key. Most models come with a dedicated app that offers a user-friendly interface, allowing you to control settings easily. You'll want to download this app for remote access, letting you adjust your thermostat from anywhere.
Plus, many of these apps track your energy savings, helping you make smarter choices for your home. Staying connected to your thermostat enhances your experience and boosts efficiency.
Conclusion
Installing your smart thermostat may seem challenging, but it's easier than you think! You don't need to be a tech expert or an electrician; just follow these simple steps, and you'll be enjoying energy savings in no time. Plus, with improved comfort and control at your fingertips, it's worth the effort. So, don't let the fear of installation hold you back—embrace the convenience of smart technology and transform your home today!

