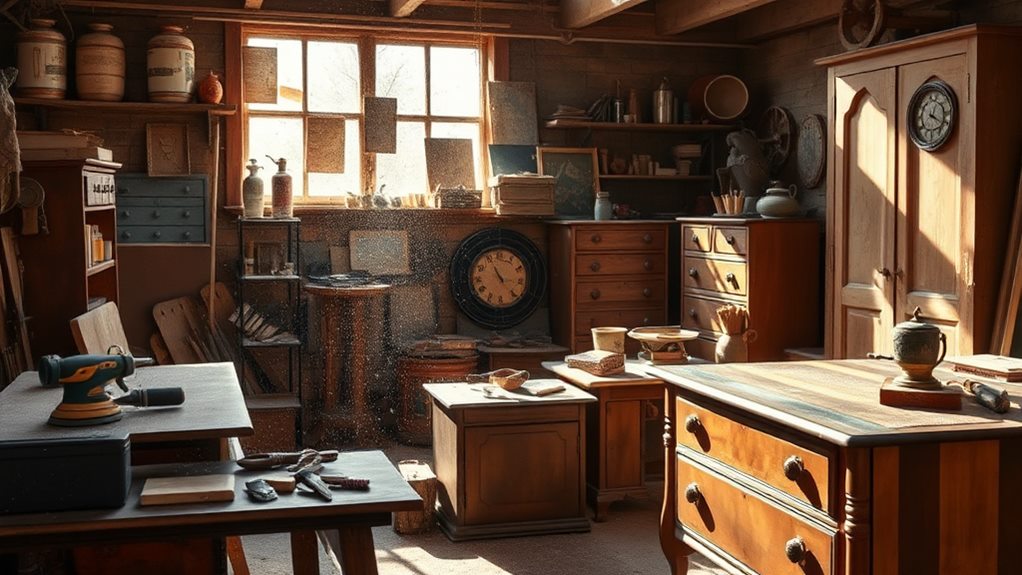
To restore furniture successfully, start by evaluating the condition. Inspect for scratches, dents, or loose joints. Next, gather quality tools like screwdrivers, sanders, and clamps, ensuring your workspace is organized. Then, clean the furniture with appropriate products, revealing any hidden damage. After that, repair damages using wood filler for chips and carefully match stains to existing wood tones. Finally, focus on the finishing touches—apply an even stain and consider protective sealants. Choosing the right upholstery can elevate the piece's look too. Keep at it, and you'll uncover more detailed steps along the way.
Key Takeaways
- Assess the furniture's condition for visible damage and identify materials for effective restoration techniques.
- Gather quality tools and ensure a well-lit, organized workspace for efficient restoration.
- Clean the furniture using appropriate products, revealing hidden details and damages for better repair.
- Repair damages with sanding, wood filler, and matching stains, testing on hidden areas first.
- Apply stain and sealant evenly, and consider upholstery options that enhance the overall aesthetic.
Assessing the Condition
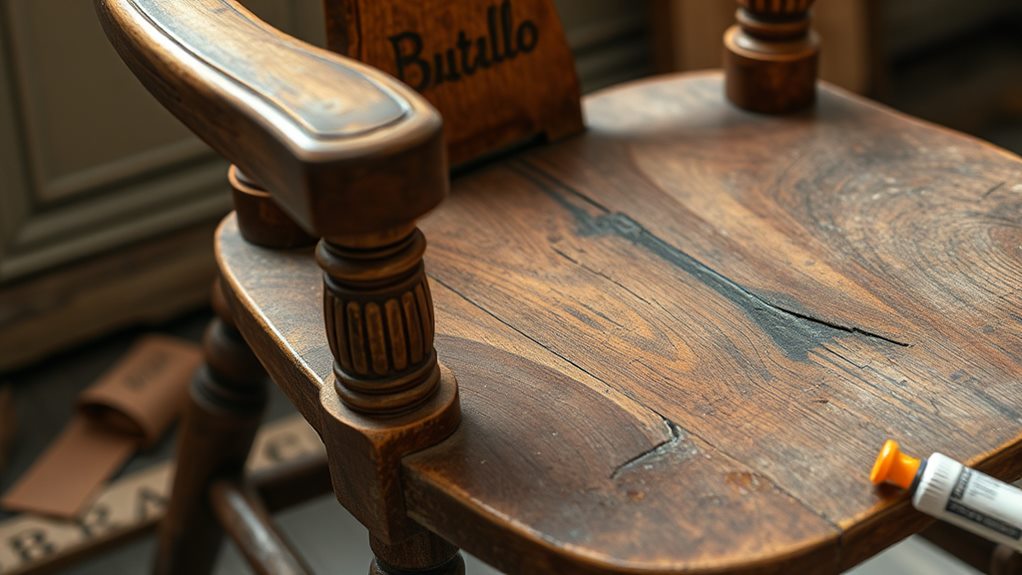
When you start the furniture restoration process, evaluating the condition of your piece is essential. This step sets the foundation for a successful restoration, allowing you to determine the best approach for bringing your furniture back to life. Begin by closely inspecting the item, taking note of any visible damage. Look for scratches, dents, water rings, or loose joints. Evaluating damage is pivotal; it helps you prioritize what needs immediate attention and what can be addressed later. Additionally, consider how the quality of materials, much like high-quality tools in gardening, can impact the restoration process and its longevity.
Next, focus on identifying the material of your furniture. Is it solid wood, veneer, or perhaps a composite? Knowing the material not only influences your restoration methods but also informs you about the proper cleaning and finishing techniques to use. For instance, solid wood can often be sanded and refinished, while veneer may require a gentler touch to avoid damaging the surface.
As you assess the condition, document your findings. Take photos or notes to keep track of the damage and materials. This record will guide you through the restoration process and help you stay organized.
Gathering Necessary Tools
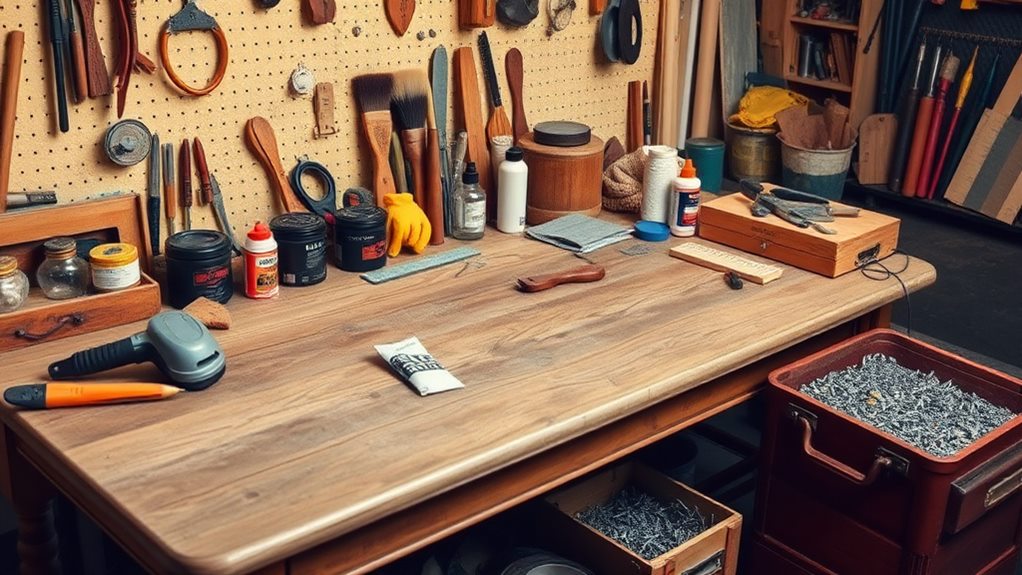
With a clear understanding of your furniture's condition, the next step involves gathering the necessary tools to set out on your restoration journey. Proper tool selection is essential for achieving the best results, and investing in quality tools can make a notable difference in your project's outcome. Start with the basics: a good quality screwdriver set, pliers, a hammer, and a tape measure. Depending on your specific project, you may need additional items like clamps, a chisel, or a wood glue. Consider investing in a sander if your piece requires refinishing, and don't forget safety gear like gloves and goggles. For a flawless finish, you might also want to explore paint roller kits that can help enhance your restoration work.
Just as important as your tools is your workspace preparation. Choose an area that's well-lit, spacious, and free from distractions. Lay down a drop cloth to protect your floors and make sure your tools and materials are easily accessible. Organizing your workspace will save you time and frustration, allowing you to focus on the task at hand.
Before diving into restoration, take a moment to familiarize yourself with each tool's function. Knowing how to use your tools efficiently can notably reduce the risk of accidents and improve your overall craftsmanship.
Lastly, remember that restoration isn't just about the tools; it's also about the care you put into your work. By gathering the right tools and preparing your workspace thoughtfully, you're laying a solid foundation for a successful furniture restoration project. This preparation not only enhances your skills but also fosters a sense of belonging to a community that values craftsmanship and creativity.
Cleaning the Furniture
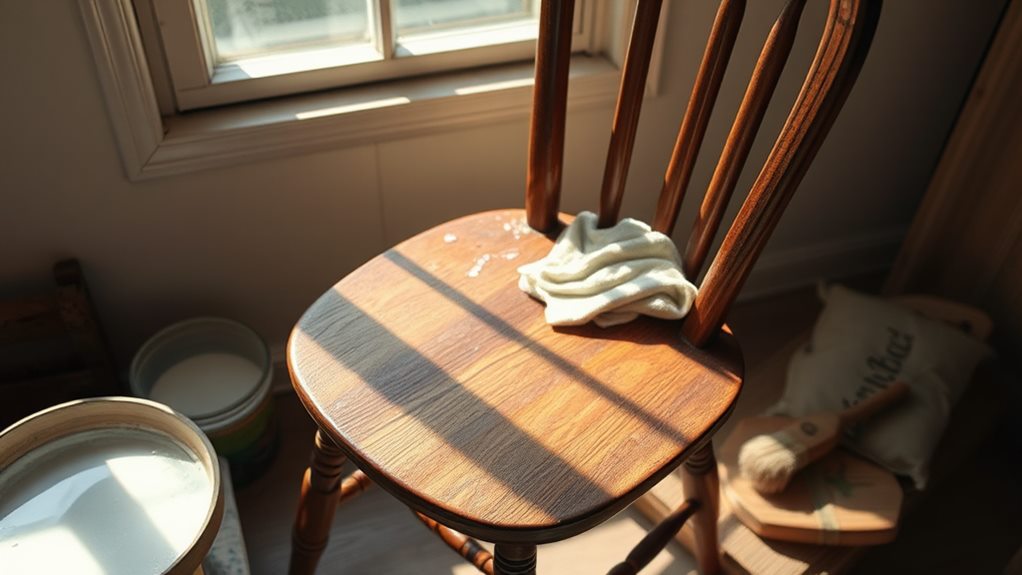
How can you make certain your furniture is ready for restoration? The first step is thorough cleaning. This process not only prepares your piece for any repairs but also helps reveal hidden details and damages. Start by gathering appropriate cleaning products, like gentle wood soaps or upholstery cleaners. Choose restoration products that suit the material—these will guarantee you don't inadvertently damage the surface.
When it comes to cleaning techniques, a microfiber cloth is your best friend. For wooden furniture, dampen a cloth with your chosen soap and gently wipe down the surfaces, following the grain.
For upholstery, test any cleaner on a hidden area first to avoid discoloration. If your piece has significant dirt buildup, consider using a soft brush to get into crevices.
Now, you might wonder whether to tackle this as a DIY project or hire a professional. If you're comfortable with basic cleaning and follow maintenance tips, you can likely handle the task yourself. However, if your furniture is particularly valuable or requires specialized care, it's wise to consult a professional.
Repairing Damages
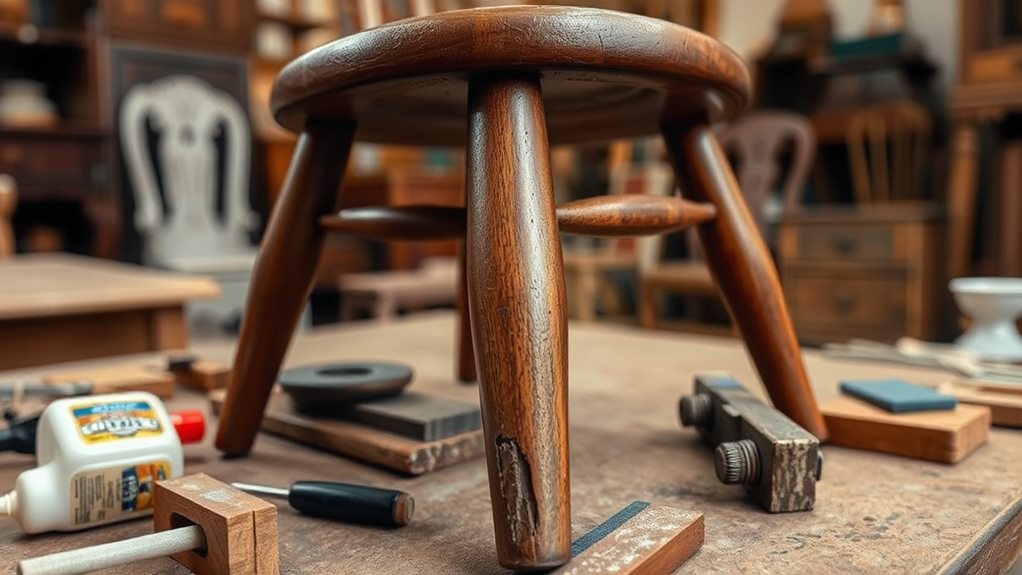
Evaluating the damages on your furniture is crucial for effective restoration. Once you've identified the issues, you can systematically approach repairs to restore your piece to its former glory. Here are some common damages you might encounter:
- Scratches on the surface
- Dents or chips in the wood
- Loose joints or hardware
- Water stains
- Faded or uneven color
For surface scratches, you can often use sanding techniques to smooth out the area. Start with a coarse sandpaper to remove the damaged finish, and then shift to finer grits for a polished look. Pay attention to the grain of the wood to avoid further damage. Additionally, ensuring that your tools are in good condition can help prevent additional scratches during the restoration process, similar to how effective under-sink organizers maximize space and efficiency in your home.
If you notice deeper dents or chips, wood filler is your best companion. Choose a filler that closely matches your furniture's color, and apply it carefully to blend seamlessly. After it dries, sand it down to guarantee it's flush with the surrounding area.
Next, consider stain selection. You'll want to choose a stain that complements the existing wood tone. Test it on a hidden area first to confirm it matches. Once you're satisfied, apply the stain evenly with a brush or cloth.
Finishing Touches
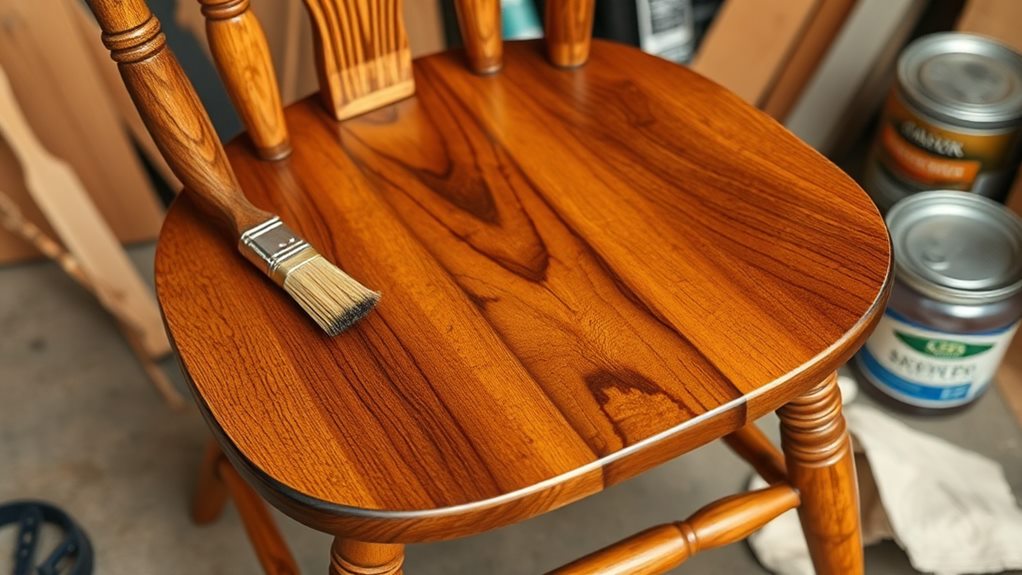
After addressing the repairs and guaranteeing your furniture is structurally sound, it's time to focus on the finishing touches that will enhance its appearance and protect the wood. Start by choosing the right staining techniques. This step can transform the overall look of your piece. Whether you prefer a deep mahogany or a lighter oak, test your stain on a hidden area first. Apply it evenly, using a brush or cloth, and follow up with a protective sealant to ensure longevity.
Next, consider your upholstery options. If your furniture features fabric, selecting the right material can elevate its charm. Look for durable fabrics that complement your color choices. Think about the atmosphere you want to create—vibrant colors can energize a room, while muted tones might offer a more soothing feel.
Don't forget to reupholster with care, guaranteeing every staple and seam is tucked neatly for a polished finish.
Frequently Asked Questions
How Can I Determine the Age of My Furniture Piece?
To determine the age of your furniture piece, start with wood identification; different species have unique characteristics.
Next, examine style recognition and design elements, as these can reveal specific periods.
Look for construction methods, hardware, and joinery techniques that match historical trends.
Finally, consult resources or experts to confirm your findings.
Is It Safe to Use Chemical Cleaners on Antique Furniture?
Using chemical cleaners on antique furniture isn't always safe. These harsh substances can damage the finish or wood, leading to irreversible harm. Instead, consider homemade alternatives like a mixture of olive oil and vinegar for gentle cleaning.
If you're unsure, consulting professional services is a great option. They can provide specialized care tailored to your piece, ensuring its beauty and value are preserved while keeping it in your family for generations.
What Types of Wood Are Most Commonly Used in Furniture?
You might be surprised to discover that oak, maple, and cherry are among the most commonly used woods in furniture making.
For wood identification, you'll often notice oak's prominent grain and cherry's rich color. Each type can have common finishes, such as varnish or oil, enhancing its natural beauty.
Understanding these woods not only helps you appreciate craftsmanship but also connects you to a community that values quality and tradition in furniture design.
How Do I Prevent Future Damage After Restoration?
To prevent future damage after restoration, focus on preventative care.
Regularly dust your furniture with a soft cloth to avoid scratches.
Use coasters under drinks and avoid direct sunlight to avert fading.
Apply a high-quality wax or polish every few months to shield the finish.
Additionally, maintain a stable humidity level in your home to avert warping.
Can I Restore Furniture Without Prior Experience?
Yes, you can restore furniture without prior experience! Start by researching DIY techniques that suit your project. Choose simple tasks to build confidence and avoid beginner mistakes. Gather the right tools and materials, and take your time to understand each step.
Document your progress, and don't hesitate to seek advice from online communities. Embrace the journey, and you'll find a sense of belonging as you transform your piece into something special.
Conclusion
Now that you've navigated the essential steps of furniture restoration, your piece is ready to shine once more. Like a phoenix rising from the ashes, your hard work transforms the worn into the wonderful. Remember, patience and attention to detail are your best allies in this journey. With your newly restored furniture, you can create a beautiful, functional space that tells a story. So, roll up your sleeves, and let your creativity flow—your masterpiece awaits!

